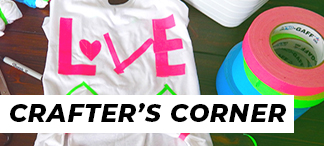
At Pro Tapes®, we want to help make your special celebrations ones to truly remember – for good reasons! We want your event planning and party setup experience to be simple, easy, and effective. That’s why we we’re highlighting the three tape products you MUST HAVE in your toolkit for all your Spring & Summer celebrations, whether it’s graduation, weddings, birthdays, and more!
Read More “3 Must-Have Tapes For Your Spring & Summer Celebrations”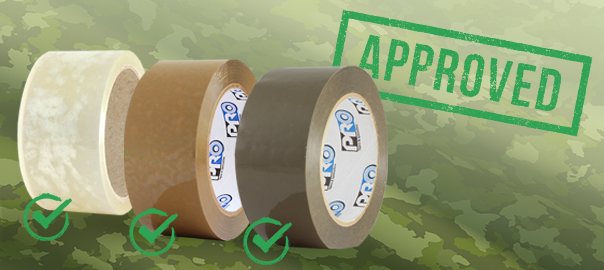
Packaging Tapes that Meet Military & Government Specs
Pro Tapes® is ISO 9001 certified, with over 40 years of experience in the manufacture and converting of pressure sensitive adhesives.
We assist our customers with identifying and procuring the highest quality pressure sensitive adhesives that conform to military and government specifications, at competitive prices.
Read More “Packaging Tapes that Meet Military & Government Specs”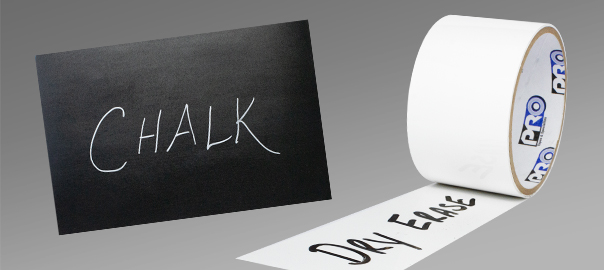
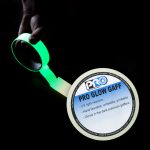
How Do You Make a Custom Chalkboard or Dry Erase Board? Pro Tapes® Shows You How!
Are you looking for a custom chalkboard or dry erase board solution? We’re happy to introduce two of our tapes that could be just what you’re looking for! Read below to learn more.
Read More “How Do You Make a Custom Chalkboard or Dry Erase Board? Pro Tapes® Shows You How!”