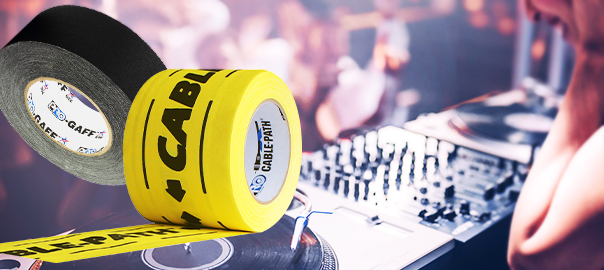
Professional DJ’s know how vital it is to have high performance durable equipment when performing at the highest level. From DJ mixers, turntables, CDJ’s, controllers, laptops, speakers, microphones, headphones, endless amounts of cables/wires – there’s a lot that goes into live shows.
Read More “Professional DJ’s Need High Performance Tape”
Top 4 Convention Tapes Every Exhibitor Needs
Are you wondering what your MUST-HAVE tapes are for this convention season? Well lucky for you, you came to the right place. Pro Tapes® has developed a luxurious line of tapes, for any and all types of conventions. There are many Pro Tapes® products that can be of help to make any event look seamless and professional, but these 4 are your absolute essentials!
Here is our industry expert’s suggestion for the Top 4 Convention Tapes Every Exhibitor Needs!
For carpet seaming: Pro® 120
5 Ways Our Newly Upgraded Individual Roll Packaging With UPC Labels Will Improve Your Business
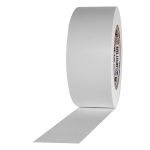
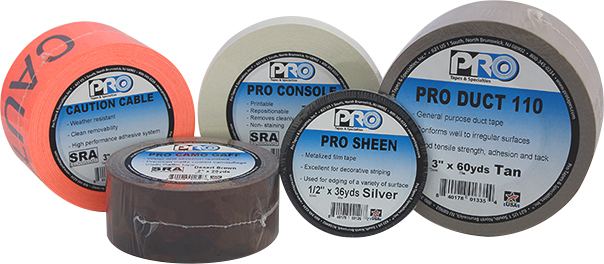
Pro Tapes® new packaging and label design is not just an artistic refresh, it’s designed with retail in mind. Our updated labels contain easy-to-read product information in a standardized format and include a UPC barcode making Pro Tapes® products even more retail-friendly. Our standard finishing includes a clear PET film wrapping to protect each individual roll of tape and make removal of the label clean and easy.
The standardized layout of our new labels are designed to Read More “5 Ways Our Newly Upgraded Individual Roll Packaging With UPC Labels Will Improve Your Business”
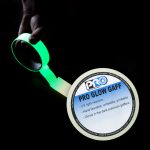
5 reasons Why Pro Gaff’s Synthetic Rubber Adhesive (SRA) Technology is superior to natural rubber adhesives
In the world of gaffers tape, not all products are created equal. For 40 years Pro Gaff® has been setting the standard and leading the pack. What sets Pro Gaff® apart from all other gaffers tape is engineering and technology…That’s right, there’s technology in every roll of Pro Gaff®! Synthetic Rubber Adhesive Technology.
Here’s 5 reasons why Pro Gaff®’s Synthetic Rubber Adhesive (SRA Technology) is superior to all other adhesives used in gaffers tape: Read More “5 reasons Why Pro Gaff’s Synthetic Rubber Adhesive (SRA) Technology is superior to natural rubber adhesives”