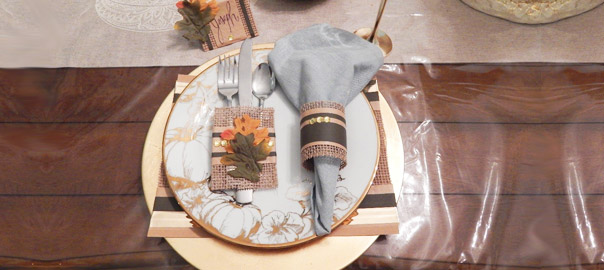
A floral arrangement is an inexpensive way to brighten up any room! With UGlu®, you can make your own faux floral arrangements -that’ll last a long time- so quickly and easily. Today, I’ll show you how I put together a centerpiece for my dining room for Mothers’ Day!
Looking to upgrade your dining room table centerpiece? Floral arrangements made with faux flowers are a great option because you can set it and forget it! They do not have the maintenance or shelf-life of real flowers.
You can make faux floral arrangements for any table, counter or shelf and when you do-it-yourself it can be an inexpensive way to brighten up any room!
It’s also a great gift idea for Mother’s Day, birthdays, Thanksgiving, Christmas, get-well or any occasion or celebration! UGlu® makes putting together faux floral arrangements easy, here is how:
Supplies You Need for This Floral Arrangement:
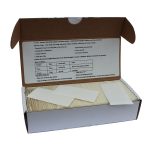
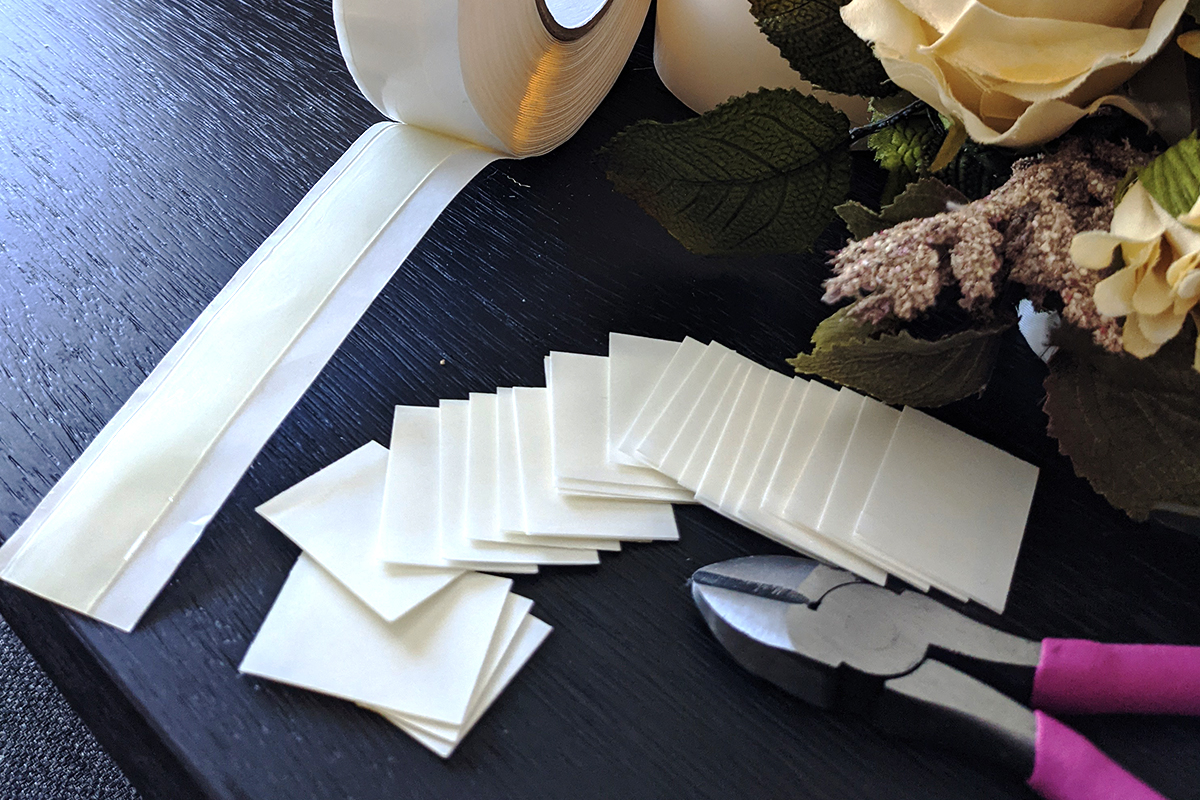
- UGlu® 900 Contractor Pack
- UGlu® Industrial Roll
- Floral scissors/cutters or wire cutters
- Floral Styrofoam
- Faux Florals
- Base for centerpiece arrangements
- Candles (optional)
Step 1: Select a base to create your faux floral arrangement in.
If your table is rectangular in shape, you want to select a base that is rectangular in shape, too. My kitchen table is long and rectangular, so I selected a rectangular shape with a wooden insert and black metal frame.
I selected this base because the wooden insert could be removed. I removed the wooden insert and painted it grey, then placed it back into the black metal frame.
I selected a second base, also with a wooden insert and black metal frame that was square in shape. This smaller, square base is for the center of my end table next to my couch in the living room. I removed the wooden insert from this base and painted it grey as well and then placed it back into the black metal frame.
Pro® Tip: By selecting a shape for a base that is the same shape as the table you are putting the arrangement on, the table appears larger.
Step 2: Shop for or select your faux florals for the arrangement.
Four things you want to consider when selecting your faux florals: color, texture, size and amount.
I selected neutral tones. My dining room and living are an open floor plan with white, beige, grey and black tones. I selected florals that bring out the beige tones in the room by selecting varying sizes of beige faux florals.
I prefer the arrangement style of varying sizes of florals, so the arrangement looks as realistic as possible. I also will not shop for faux florals online, only in-person. Therefore, I can guarantee that I can get the actual look (color, texture, size) accurate that I’m trying to attain.
If you’re shopping for faux florals and the store doesn’t have enough in inventory for the one you’ve selected, approach a store associate and ask them to place an order online and have it shipped to your door for any additional amount you need!
Pro® Tip: Make sure you check out the small pre-arranged bouquets for weddings! They are often useful for centerpiece arrangements because “filler” florals are already included. Several small pre-arranged bouquets can be used for one centerpiece. This makes your centerpiece balanced and looking full!
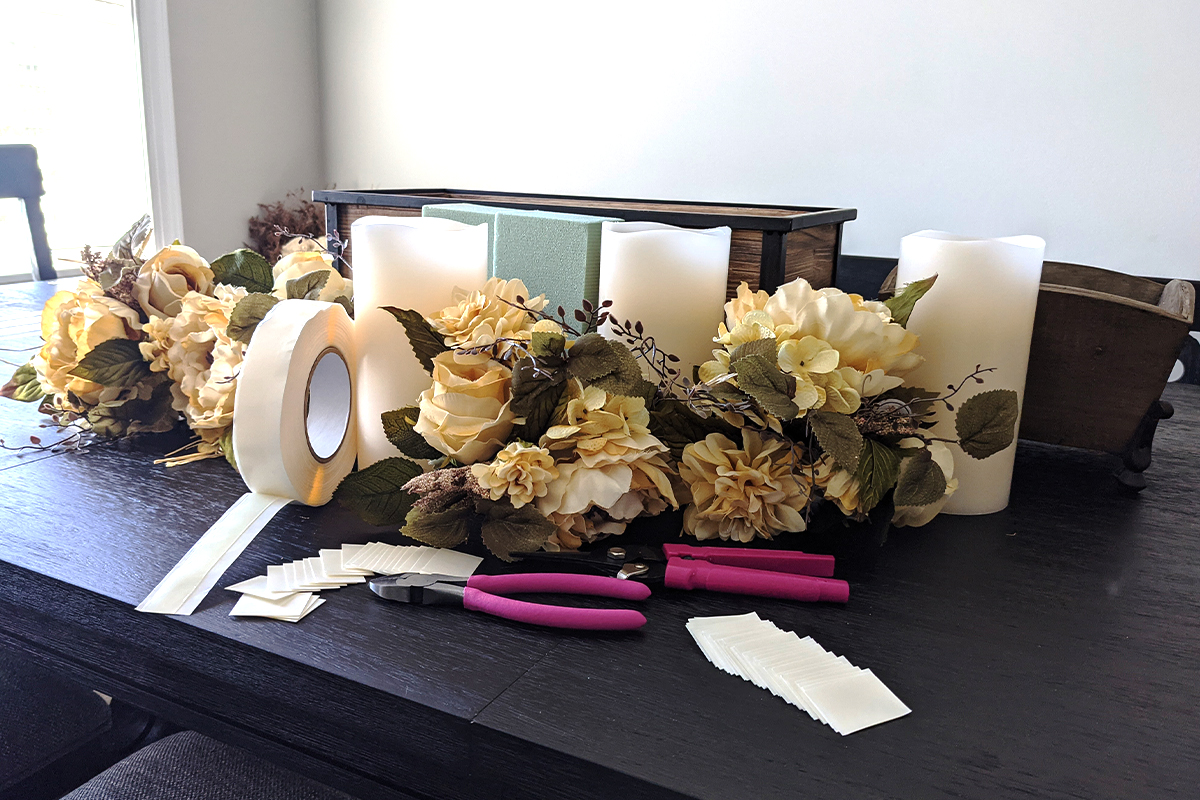
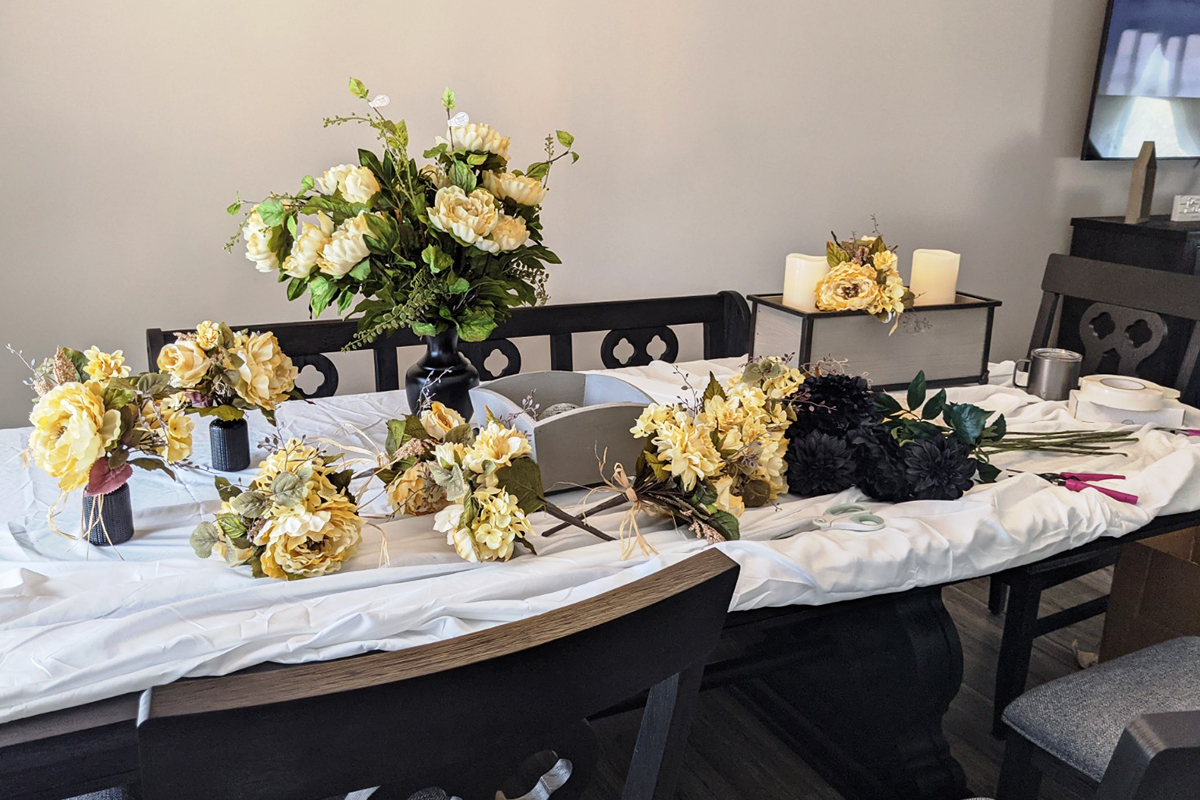
Step 3: Gather all your supplies in one area to start working.
It’s best to lay down a sheet or table cloth on the area you are working on as faux florals have a tendency to shed and this makes clean up very easy when you’re done. Laying down a sheet or table cloth to work on also ensures you don’t scratch the delicate surfaces you’re working on.
If you line up all your supplies and faux florals in one spot, you can easily see how much florals you have to work with and this makes pre-arranging easier.
Step 4: Pre-arrange your faux florals.
Experiment with where you want to place the faux florals before you UGlu® anything down or insert the florals into the Styrofoam.
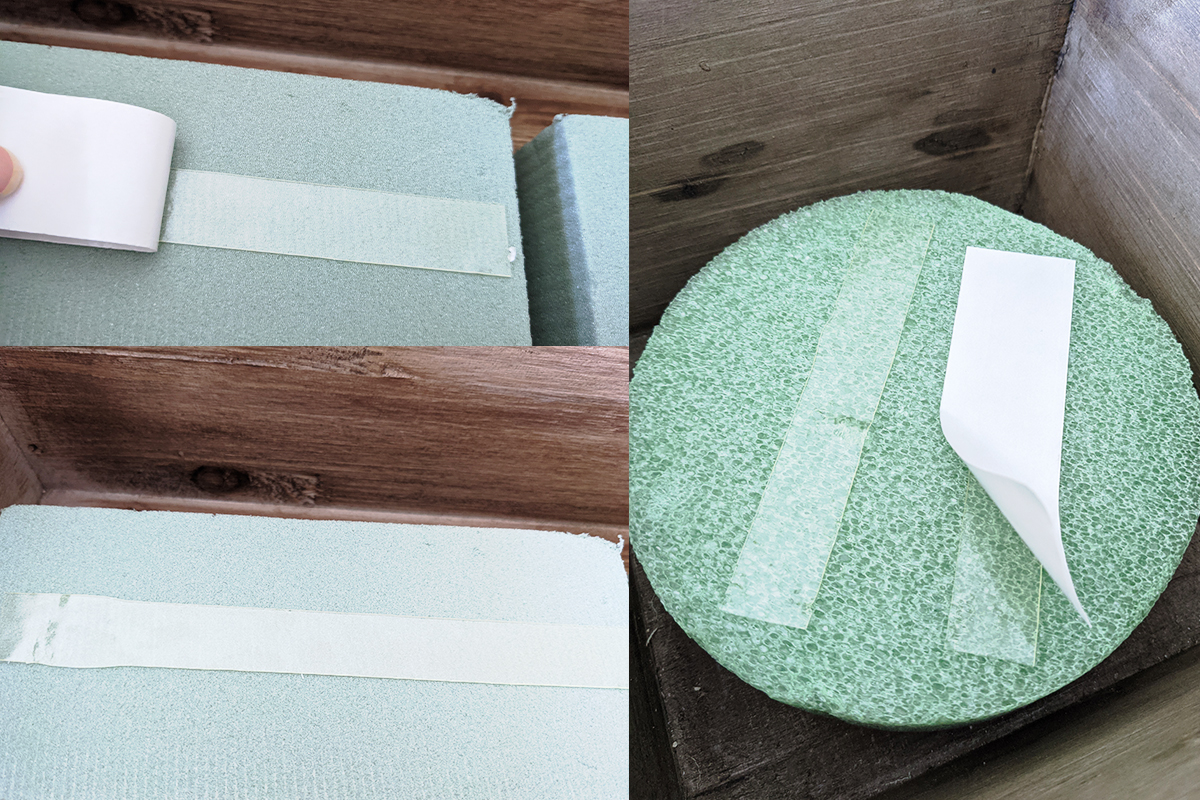
Step 5: Place your Styrofoam bases down.
Take Styrofoam bases and place a strip of UGlu® from the UGlu® Industrial Roll, cut to size to the length of the base.
Remove the white liner. Turn the Styrofoam base over and press down. UGlu® is very useful in this application because it keeps the floral Styrofoam in place. If you go to pull the Styrofoam block straight up, it will not move.
Place the Styrofoam in the wrong spot? No problem! With UGlu® you can easily move the Styrofoam by twisting the block in the opposite direction. Turning UGlu® to the right or left will cause the UGlu® to release and you can adjust your location and firmly press it back down again!
For my smaller square arrangement for the living room end table, I used two Styrofoam pieces on top of one another to ensure I’m giving my arrangement the height and placement that the florals will need.
Step 6: Place UGlu® on Styrofoam blocks and remove white liner.
Styrofoam blocks not only keep the florals in place, but also give the arrangement height.
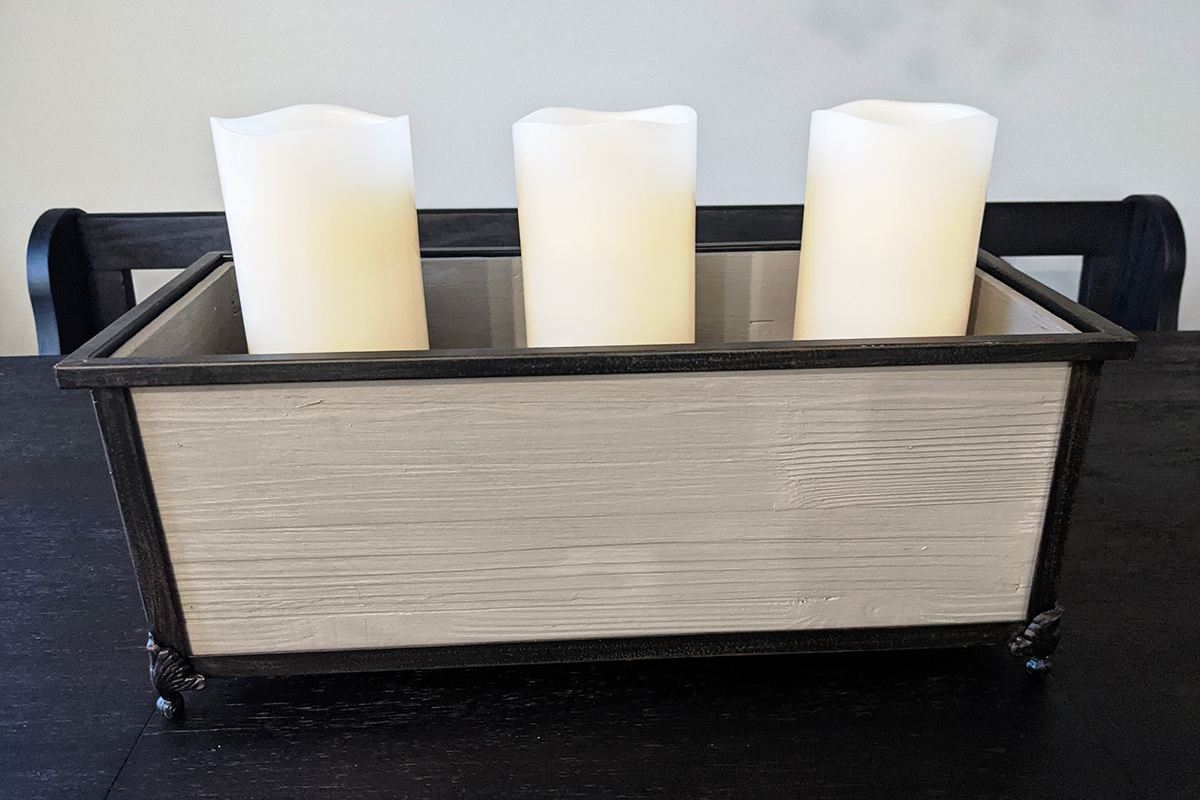
Step 7: Place your candles in the faux floral arrangement, using UGlu® to hold them down.
If you are using candles in your centerpiece arrangement, place them in before you put your faux florals in. Utilize UGlu® Contractor Pack 1” x 3” stripes on the bottom of the candle and remove the white liner to firmly hold the candle in place.
For my large rectangular arrangement for the dining room table, I’ve used three candles. For my smaller square arrangement for the end table in the living room, I didn’t use any candles.
Step 8: Arrange your faux floral arrangement in the base by sticking them onto the UGlu® or piercing the stems through the Styrofoam.
Any UGlu® used can easily be adjusted by pulling or turning in the sheer direction, so this makes it easy to adjust your arrangement as you’re completing it.
As you’re arranging your faux florals, make sure to take a step back and check your arrangement between each placement. You don’t want to wait till the end to check the arrangement! That’s a big mistake because you don’t want to end up pulling apart the whole arrangement to fix one issue.


That’s all! Have fun crafting your faux floral arrangement!
And if you LOVE how it came out, feel free to send us a photo at marketing@protapes.com!