As of lately more and more people are taking the holidays as an opportunity to show off their creative side and show what they can do artistically with their house decorations, table decor and food presentations. I’m here today to tell you that you don’t have to be the “artsy” one to be able to execute an awesome table display for the holidays, nor do you have to break the bank to get it done either. With the following few items and techniques, decorating your table to the nines for this thanksgiving will be easy, fun and oh-so-affordable!
What we used:
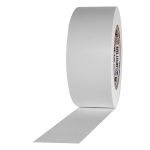
- Pro® Artist Tape Orange ¼ inch, ½ inch, 1 inch,
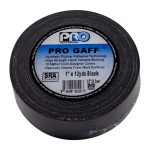
- Pro® Gaff ¼ inch and 1 inch: Olive Drab (Olive Green), Yellow, Red
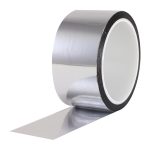
- Pro® Sheen Gold 1 inch
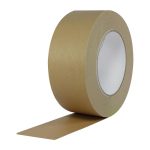
- Pro® 183 Kraft Tape 2 inch
- UGlu® DIY pack
- Misc. fall embellishments: burlap, Kraft paper, gems, faux leaves,
Markers

The best thing about DIY decorations is that if you don’t have one item, you can always substitute it for something else. For example, if you don’t have kraft paper you can use cardboard, poster board, or printer paper that has been folded multiple times. Or if you don’t have a ¼ inch roll of Pro Gaff®, you can take your ordinary 2 inch roll and hand tear it or cut with scissors down to your desired size, it’s that simple! The beauty in crafting is that there is no cut and dry way to get something done, there will always be other embellishments to use, different techniques, and just overall, differences in styles and color preferences. Here at Crafters Corner we like to show you how we have had success with executing specific crafts or hacks for those to want to replicate it exactly, but otherwise, be creative and be yourself. We are always here to share new ideas, techniques, and products that work well. Shall we jump right into it already?!
How To:
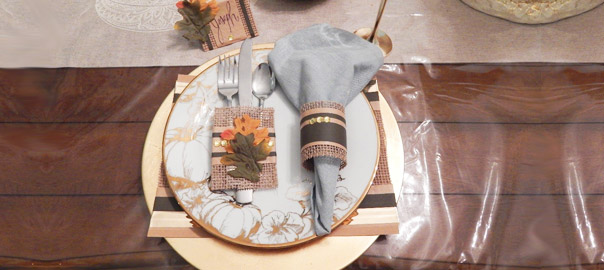
In case you didn’t notice, Becky created 4 different versions of place settings, but used the same materials in different ways for each of them to maintain one cohesive look. She thought it would be fun to not have all the place setting look exactly the same, but look similar enough that they all fit nicely into the overall theme of the table decor.
Becky created 4 elements to enhance her table settings:
- Utensil holder
- Napkin ring
- Placemats
- Place cards
Becky wanted to take a different approach when creating these enhancements, because she didn’t really plan out a step by step ahead of time, she just went with that looked good to her and what techniques worked the best, so we are going to share all that good stuff with you. Go ahead Becky!
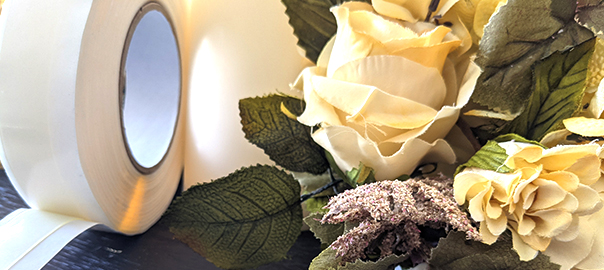
Have you ever cut burlap? Yikes, what a mess! How I got those clean nice edges was not by trying to cut perfect clean edges, but rather by using UGlu®. I realized UGlu® is like an instant hem without even sewing! It’s a peel and stick hem in my opinion. SAY WHAT?? UGlu® performed amazingly on this tricky surface. I was playing around with my UGlu® DIY pack and burlap and then I ran and grabbed some fall colored Pro® Gaff, Pro® Artist tape and Pro® 183 Kraft paper tape and began layering my tapes and putting together some really cute table settings. I made napkin rings, utensil holders, place cards and even placemats all with tape!! Basically, no cost at all- all materials I already had on hand.
1: Utensil Holder
The utensil holders are just pieces of burlap folded in half like a birthday card. I secured the one longer end with UGlu®, leaving the top and bottom open so I can slip the utensils right in. Essentially, it’s like a pouch. That’s right no sewing, and no hot glue burns…seems like a win-win to me! Just peel, stick, and DONE. I was able to make so many of these so fast. No mess, no wires, no burns, none of that weird spider web stuff the hot glue makes, it was clean and effortless.

2: Napkin ring
I even wrap the burlap around my napkins and made some napkin rings to match. Then I just added embellishments like Pro® Sheen strips and rhinestones from my local craft store.

3: Placemats
I did the same with burlap on cardstock and made a few patterns that I decided to use as placemats. I used UGlu® to attach the burlap to the card stock. I also used other tapes such as Pro® Artist tape and Pro® Gaff in black as embellishments, alongside the fallen leaves from my fall garlands that I got from my local crafting store.

4: Place cards
Then I began to make the place cards, because I love an organized table. I cut some cardstock and folded it in half, then… you guessed it, I began to layer with burlap using UGlu® of course. I began layering and adding patterns simply with tape. I used whatever fall colors I had on hand of Pro Gaff® and Artist Tape. Then on top of it all I added a piece of 2 in Pro® 183 Kraft Paper tape down the center, so that not only did it polished the whole look off, but it also left a writable surface as the utmost top layer. I mean, you be the judge, tape or fancy ribbon? To me there’s no comparison, a tape that looks like ribbon but can be written on?! No brainer. This practically took no time at all and was fun!! I didn’t have to spend a lot of time or money, I made do with that I had.

Have fun with it!
If you know how I am, you would know I couldn’t just stop there. I needed more embellishment!! So I added more “bling bling” to each of the table decorations. With the help of UGlu® again, I realized I could roll up UGlu® dashes into a little ball and use that to attach small rhinestones. To complete the look, and to get that cohesive feel, I added pieces here and there of gold Pro® Sheen and some faux fall leaves from my garlands to all 4 of my table decor items and layered them together with…DUN-DUN-DUN…UGlu®!
I feel like I will be playing a trick on my guests this thanksgiving, waiting and wondering how long it will take people to realize it’s all just TAPE!!! LOL. I guess it’ll be just me and the turkey’s little secret! Shhhh!!!


Your DIY Essentials:
- UGlu® DIY pack
- Pro® Gaff 2 in (in your favorite colors)
- Pro® Artist Tape (also in your favorite colors)
- Pro® Sheen…a must have to replace all that messy glitter!!! (Also in your favorite colors, although, I LOVE the Gold, and Silver)
- Pro® Duct 120 (In all your favorite colors)