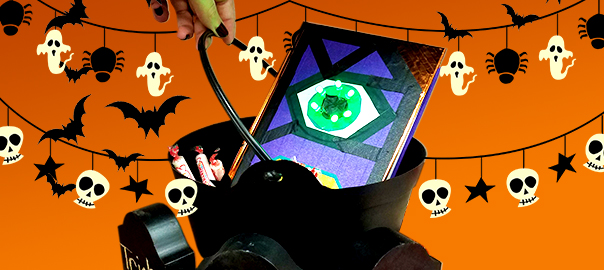
Have you got some old books laying around? Want to decorate for Halloween with a witchy, magical theme? Or have you got a costume or cosplay outfit that needs a spellbook as the finishing touch? Look no further – we’ve got the perfect easy & quick way to create your own spellbook craft using our fabulous Pro Tapes® products!
It’s fun and easy for adults, and it’s safe for kids to craft, too. Plus, with a little extra magic, you can make it light up!
Watch our video for a quick speed-through of how we crafted the spellbook. Then, read below for our step-by-step guide!
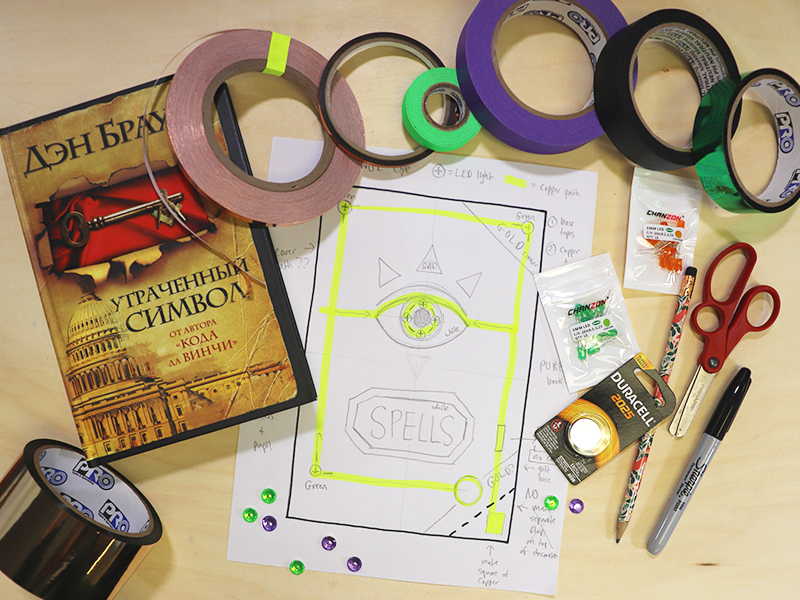
Materials Used:
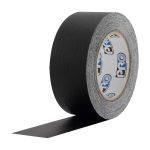
- Pro® 46 (Crepe Paper Tape)
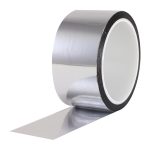
- Pro® Sheen
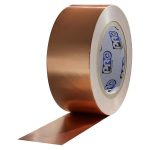
- Pro® 882L (Copper Conductive Tape)
- UGlu® 600 Dashes Sheets
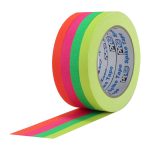
- Pro® Spike Fluorescent Stack
- Pro® Gaff
- An old hardcover book
- Scissors
- Sharpie
- Individual LED lights
- Coin-size battery
- Decorative gems
- Optional: other tapes, like Pro® Gaff and Pro® Duct
- Optional: other items you want to stick on!
Step 1: Sketch your Design & Gather Materials
First, you can trace the shape of your book onto a sheet of paper, then use this template to sketch out what you want your book to look like. This is the design we came up with, but you can always cook up your own imaginative design! Remember, you can always adjust your design mid-way (like we did) because tape is easy to peel off and re-stick wherever you need it.
Then we gathered all of our craft supplies together, from the scissors and coin battery, to our Pro® 46 (crepe paper tape), Pro® Sheen and Pro® 882L (conductive copper tape.)
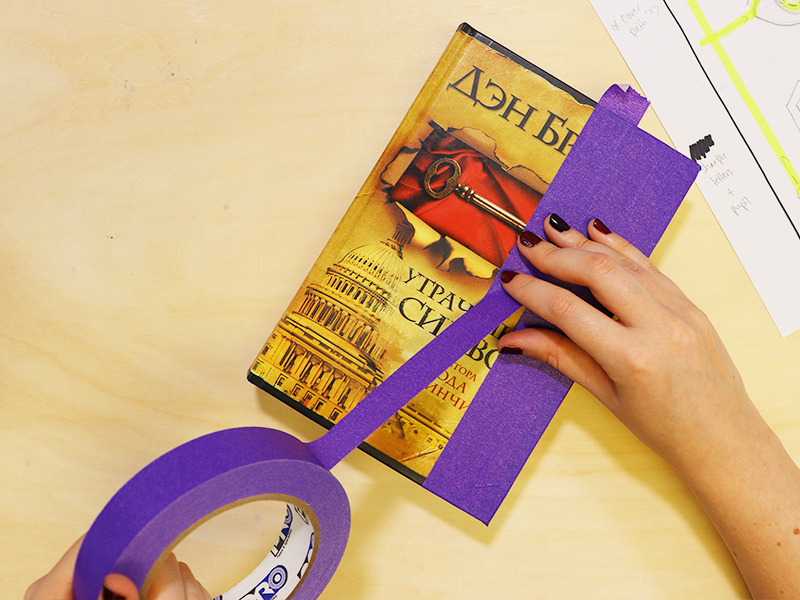
Step 2: Tape Over the Cover of Your Book
Grab your hardcover book – whatever size of book you like. We picked up this old copy of Dan Brown’s “The Da Vinci Code” in Russian (a pretty spooky way to start, right?)
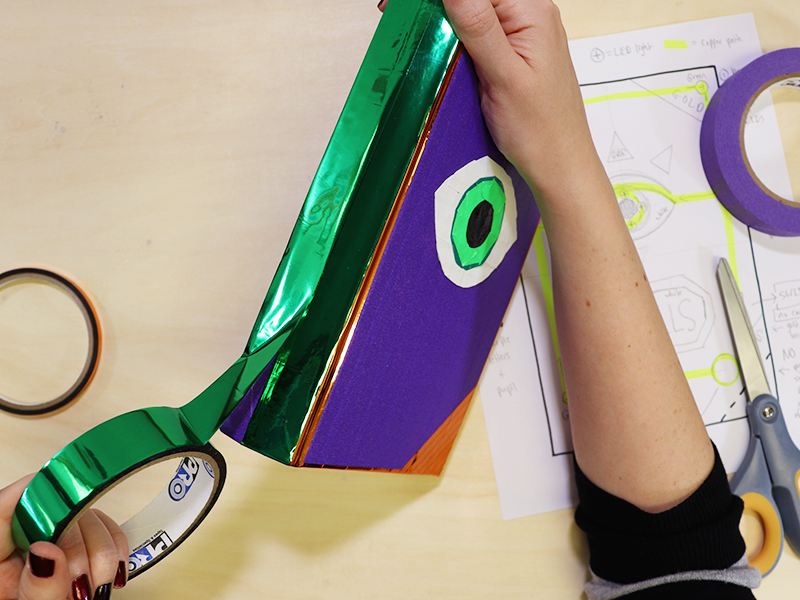
Begin by choosing a base color to “wrap” your book cover from front to back with. We chose Pro® 46 crepe paper tape (in this nice bright shade of purple!) to wrap our book. Pro® 46 has a nice texture, and it’s easy to peel up and re-position as needed.
Go ahead and completely tape over your front cover, spine, and back cover. Smooth it down with your fingers. Use your scissors to cut any excess away. You can even fill in the inside cover with the same color, or a different one.
Step 3: Create Decorative Elements with Tape
Now you can start making decorative elements out of tape! We wanted to have this big spooky eye smack dab in the middle of our cover, so we cut it out of white Pro® Gaff.
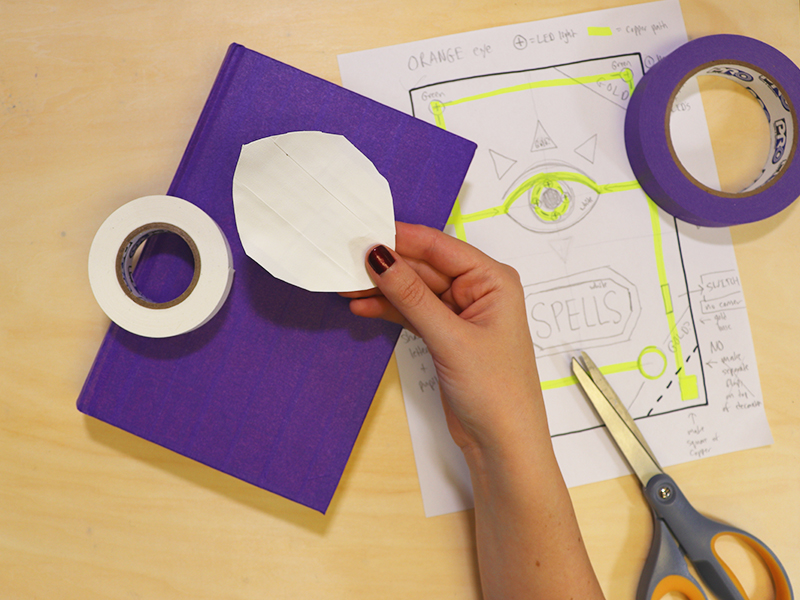
What’s the secret to cutting any shape neatly out of tape? You have to stick it down first!
Take your tape and lay it out in several sheets on your table or work surface, making sure each strip overlaps the previous one a little bit. If you’re creating a big shape, make a second layer on top so the whole thing is nice and sturdy.
Then you can peel the whole thing up and cut it with scissors, just like you would cut paper! When you’re done, you can stick your cut-out shape onto anything. Or you can add more tape layers on top, like we did for the eye using Pro® Spike. Check out our Vimeo video above (or click here) around 00:17 to see how we stuck everything together!
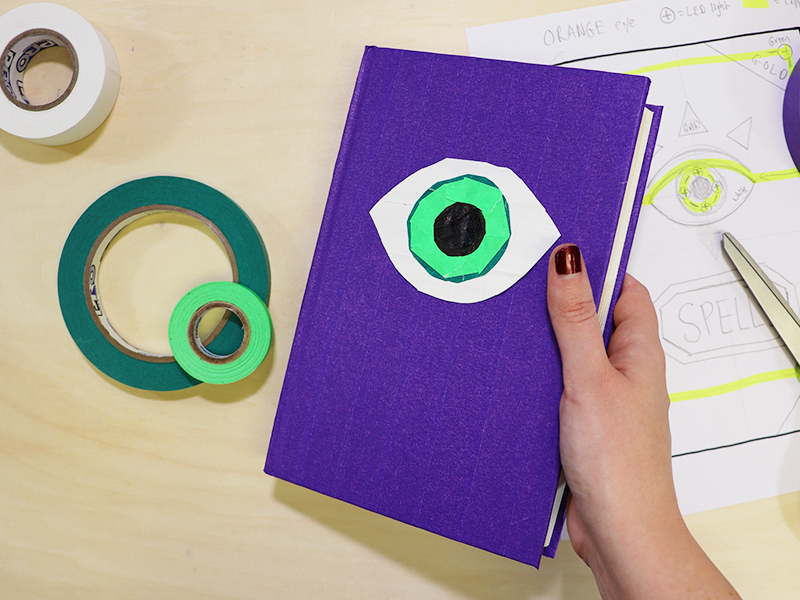
Since most these tapes are write-able, you can draw or write anything right on top of the tapes. We used a Sharpie to color in the pupil of our eye, and to write out “Spells” on our book label. See 1:20 on the video for how we created our book label, and 2:07 for writing in “Spells.”
We added many more decorations to our book with tape – like shiny corners and a shiny spine using different colors of Pro® Sheen. Watch the video to see how we added borders and shapes on our cover, too. You really can make anything with tape (with a little patience and imagination!)
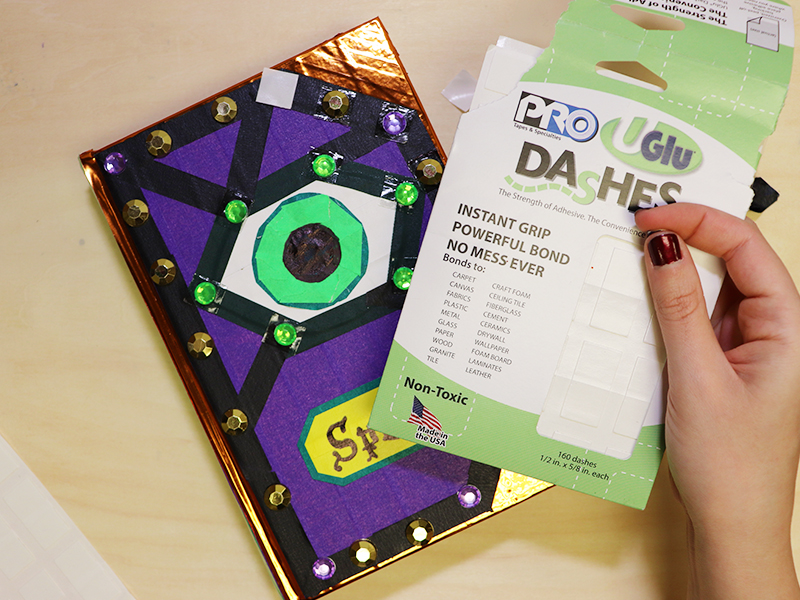
You can stick objects to your spellbook using UGlu® Dashes, too! We wanted to add some shiny gems to our design, and dashes were the way to go. It was way easier (and way less messy) using UGlu® Dashes to stick these gems on than if we had used a hot glue gun or modge podge. And it’s safer for adults and kids alike to use! You can get creative and add some spiders or snakes or other creepy and interesting things to your spellbook.
Step 4: Make it Glow, Baby!
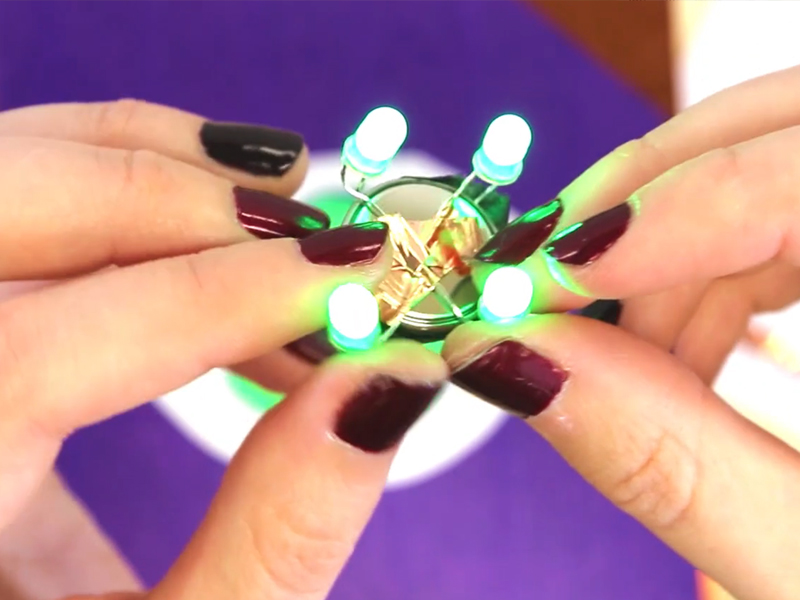
If you watched the video, we bet you’re wondering how we made our spooky eye glow bright green. Well it’s time to reveal our secret!
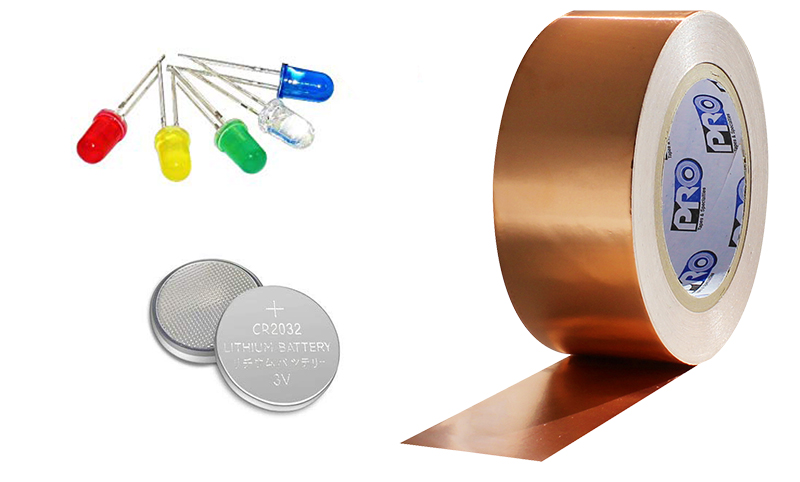
All you need are some individual LED lights, a coin battery, some conductive copper tape like our Pro® 882L, and some Pro® Gaff to cover it up and tape the whole thing together.
Each LED light has two wire legs. You’ll need to attach one leg to one side of the coin battery, and the other leg to the other side. We arranged our LED lights around the battery, then used Pro® 882L to stick the legs down to each side. The conductive copper tape ensures each LED light will get plenty of juice. Then we used black Pro® Gaff to cover our glowing contraption up, and stuck it to the center of our eyeball.
Ta-da! Now, want to make your own spellbook?
We’d love to see your amazing spellbook creations! Do you think you can use Pro® 882L copper conductive tape to make a crazy light-up circuit (like this)? Or maybe you’ll use some other tapes, like Pro® Glow, to take your book to the next level? Just post to social media and tag us @protapes to get our attention!