Winter is slowly leaving us (or at least it is in our neck of the woods here in New Jersey) but it’s not too late to make a winter-themed craft. Try this layered paper art technique and some new tape products at the same time!
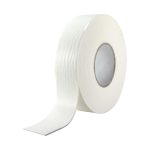
First, an introduction: Pro® 3016 is a double-coated foam tape, which means it’s made of foam and it’s sticky on both sides. You cut it, place it down, then peel off the paper backing (called a liner) off the back, then you can stick things to the other side. This tape can come with temporary or permanent adhesives coated on it, depending on what kind of holding power you need.
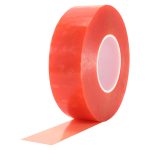
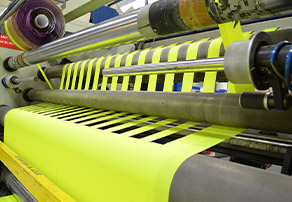
Then, we have Pro® 965. It’s also a double-coated tape that’s thicker than most common tapes you may have used. The tape looks like it would be red, but that’s actually just the color of the liner! The tape itself is clear. It’s got a pretty aggressive adhesive, which means it holds things really well. It’s commonly used for mounting all kinds of trims, mouldings, plastic parts, signs, etc.
Together, these tapes inspired me to create some layered paper art. If you look up “layered paper art” online, you’ll find all kinds of awesome examples!
What is layered paper art?
The main idea is that you use multiple layers of cut-out paper, stacking each layer with something that creates space (like foam tape) to create a unique, three dimensional artwork. Pro® 3016 is perfect for layered paper art because it creates that little bit of space you need between the layers AND it holds the papers together.
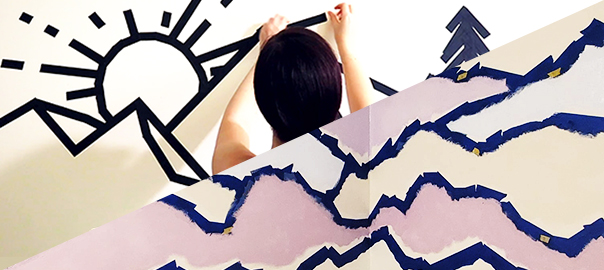
Create Your Winter Wonderland Layered Paper Art
Now let’s get started. You can watch the video to see how it’s done, but be sure to come back and read the blog below to get all of the step-by-step details.
Supplies:
- Chalkboard Easel (any size you like – mine was close to 5” x 6”)
- 3/4” or 1” wide Pro® 3016 foam tape (or other Pro® brand foam tape)
- Pro® 965 Hi-Tack Tape
- Pro® Sheen in Gold
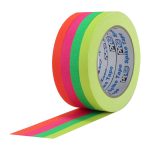
- Optional: Pro® Pocket Spike Stack roll in Dark Blue, for edge trimming
- Cutting board
- X-acto knife
- Sharpies in Silver, Gold, and Black
- Card stock sheets in Dark Blue Sheen, White Glitter, Pale Blue Glitter, and White
- Ruler
- Pencil & Eraser
- Scissors
Step 1: Create the Base Layer on your Easel
For this craft, I used a little chalkboard easel I had left over from holiday decorating. To make sure my tapes and papers adhered well to the surface, I wiped it down with a wet paper towel first, and let it dry fully.
If you don’t have a chalkboard easel available, you can still make this craft on any other hard, flat surface (like a canvas board), then place it on a small photo easel to display it.
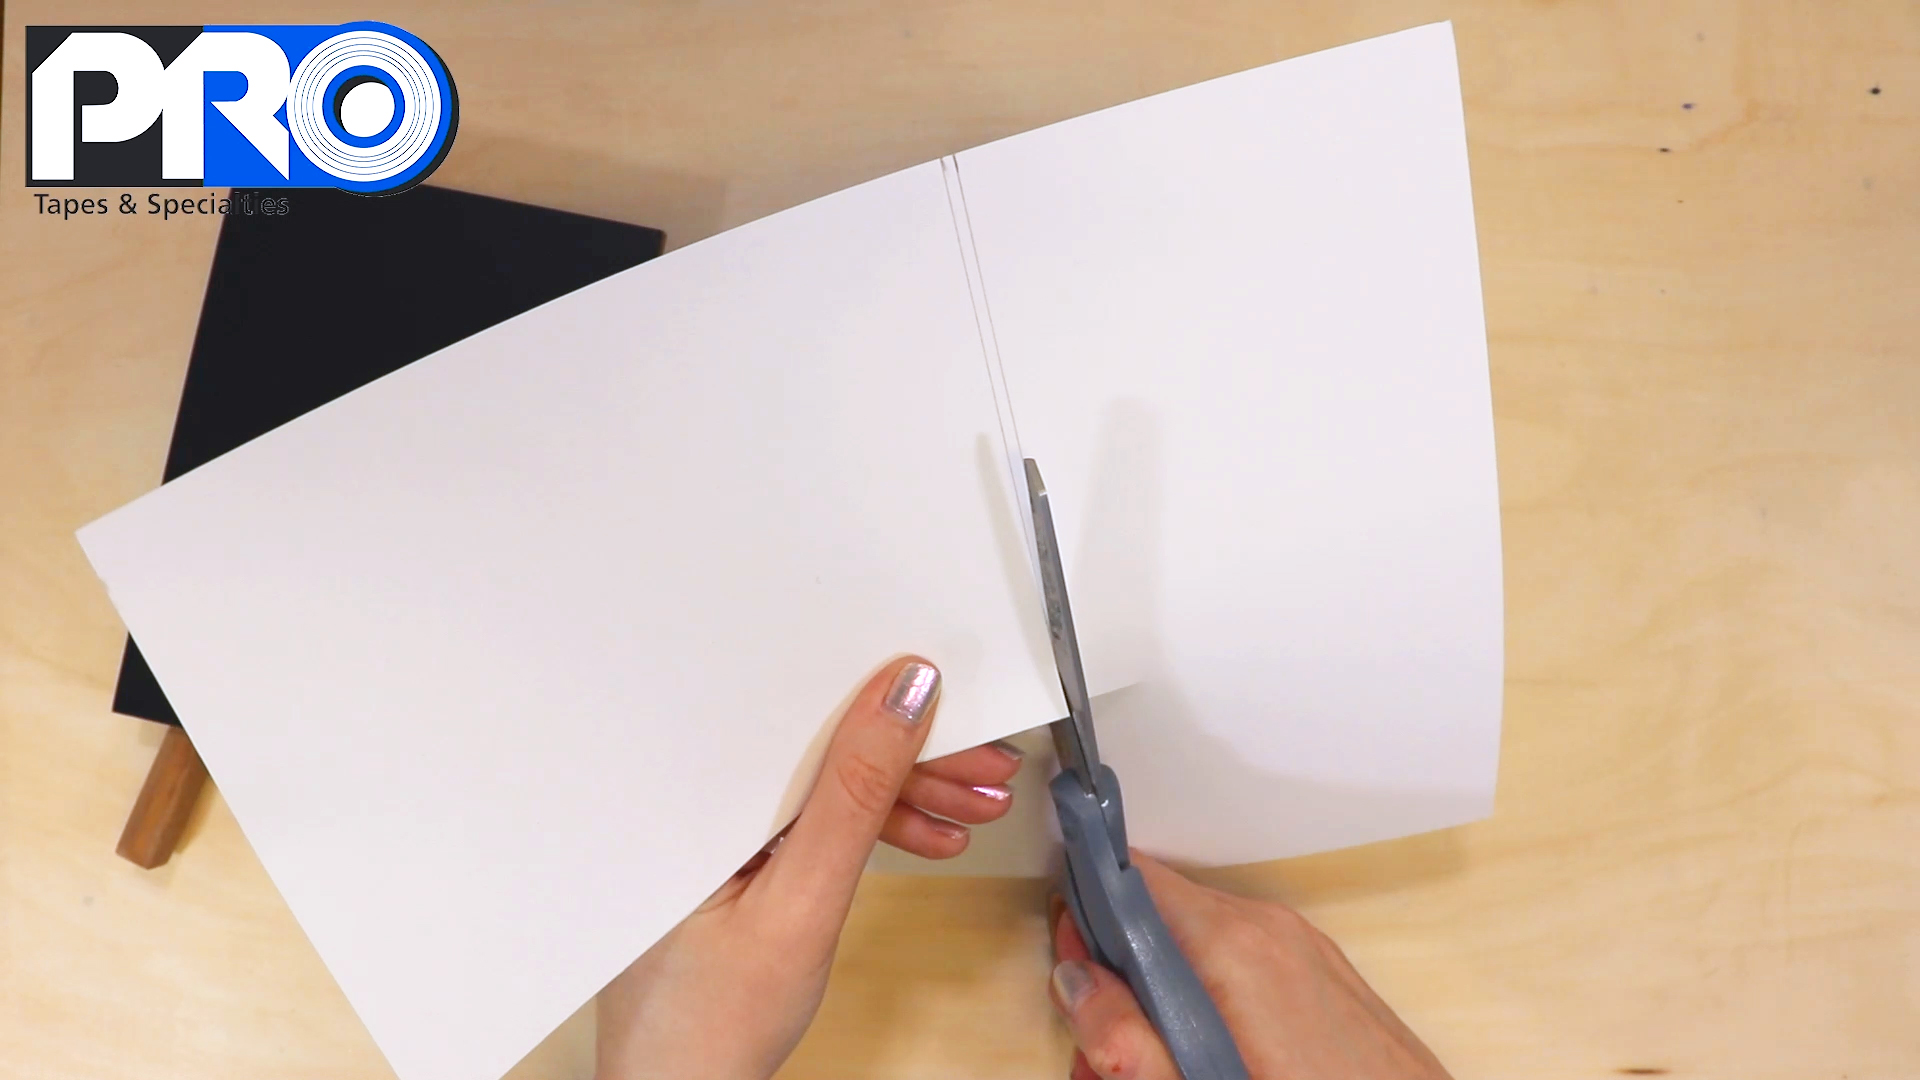
To create a sturdy base layer for my artwork, I measured out my easel dimensions, then grabbed some plain White cardstock and cut it to the same size.
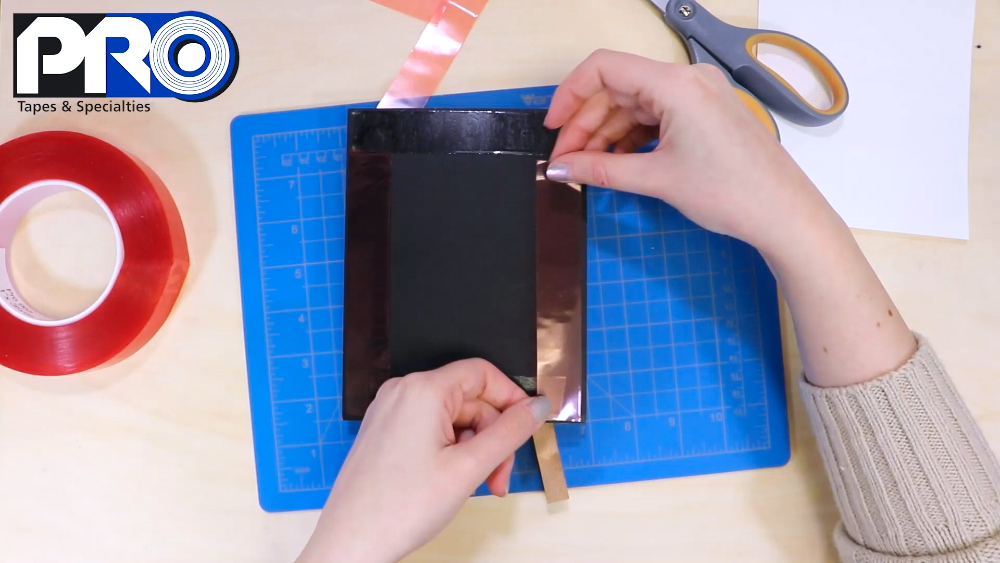
To attach my cardstock base to my easel, I used Pro® 965. I cut it into strips and placed it around the edges of the easel. Then I peeled off the red liner, and very (very!) carefully placed my cardstock base on top. Remember, Pro® 965 has a strong adhesive, so you want to take your time and be neat when sticking things to it.
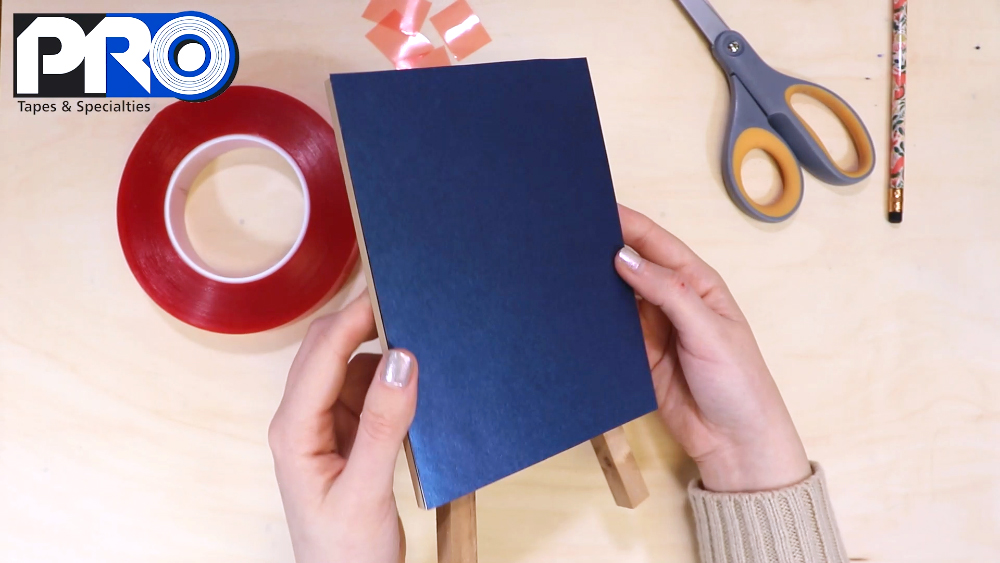
Now that I had the first paper support layer down, I grabbed the Dark Blue cardstock that would become the background color for my winter wonderland scene. I love how this beautiful blue cardstock shimmers subtly in the light – plus, it reminds me of the 2020 Color of the Year!
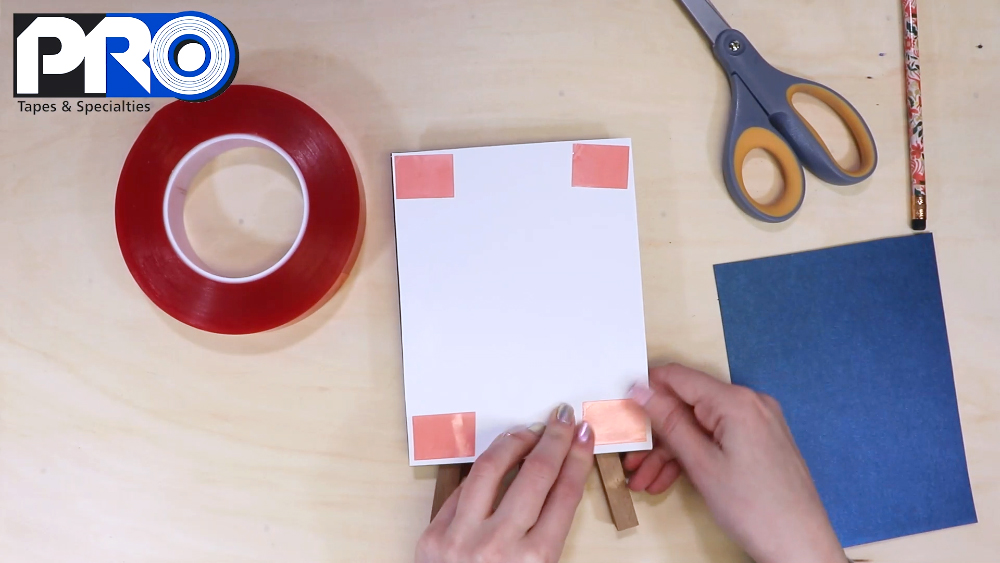
I used the easel to trace the exact shape I needed on the back of the Dark Blue cardstock, then I cut it out and affixed it to the easel with a strip of Pro® 965 in each corner.
Here’s what it looks like with both layers firmly attached:
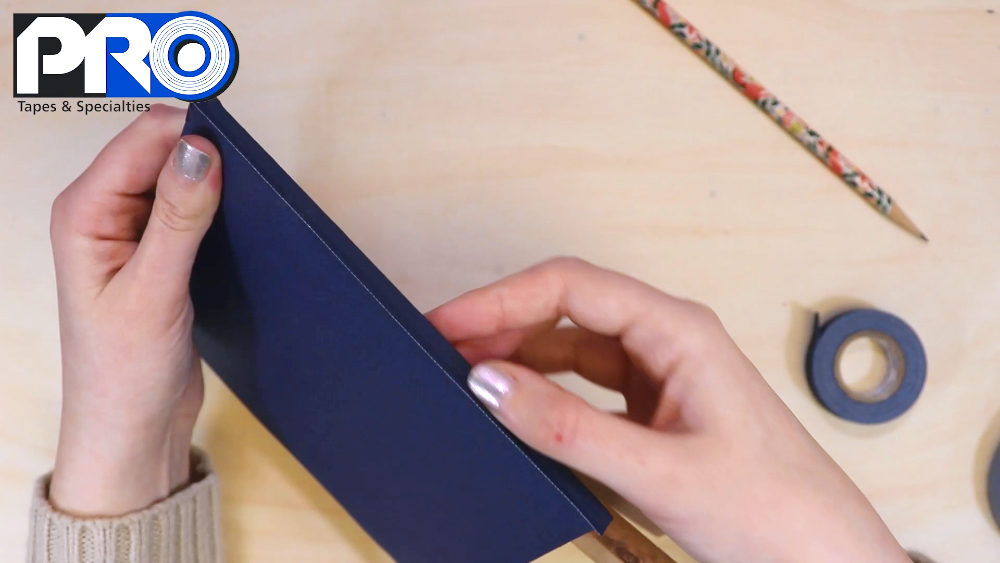
OPTIONAL Step: Trim the edges with Pro® Pocket Spike in Dark Blue
I didn’t originally plan to do this, but while working on this craft, I noticed that my little roll of blue tape from the Pro® Pocket Spike Stack (Dark) really matched the color of my Dark Blue cardstock layer.
So I went ahead and created a trim around the top, left and right edges using it!
You definitely don’t need to do this to make the final product look nice, but feel free to let it inspire you to experiment with trimming other artworks with a nice layer of tape.
Step 2: Create your Moon with Pro® Sheen
As part of the background layer, I wanted to add a nice shiny moon. What could be better than using some Pro® Sheen in Gold? You could also do it in Silver Pro® Sheen, but I preferred having the warm tone of the gold to contrast with the cool night sky.
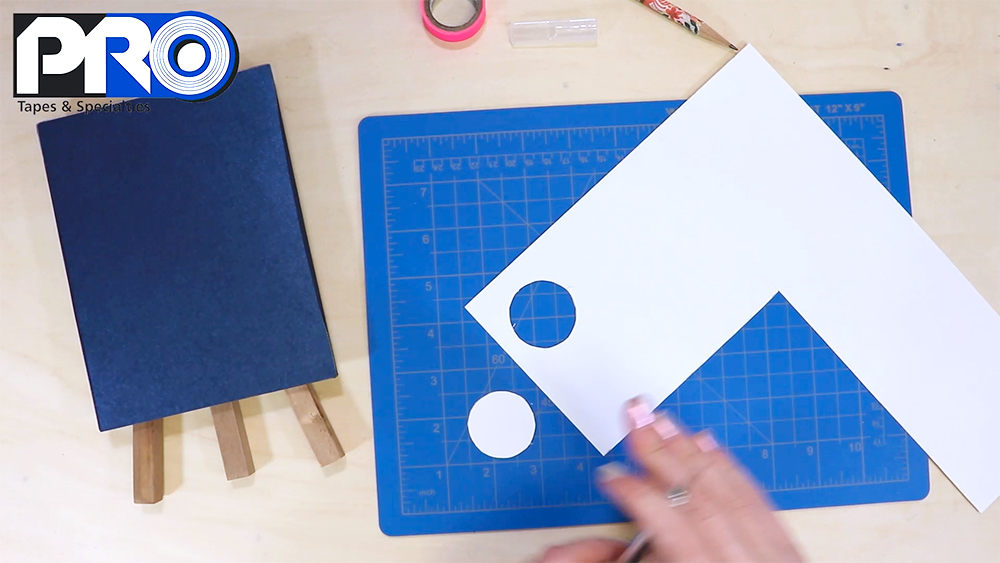
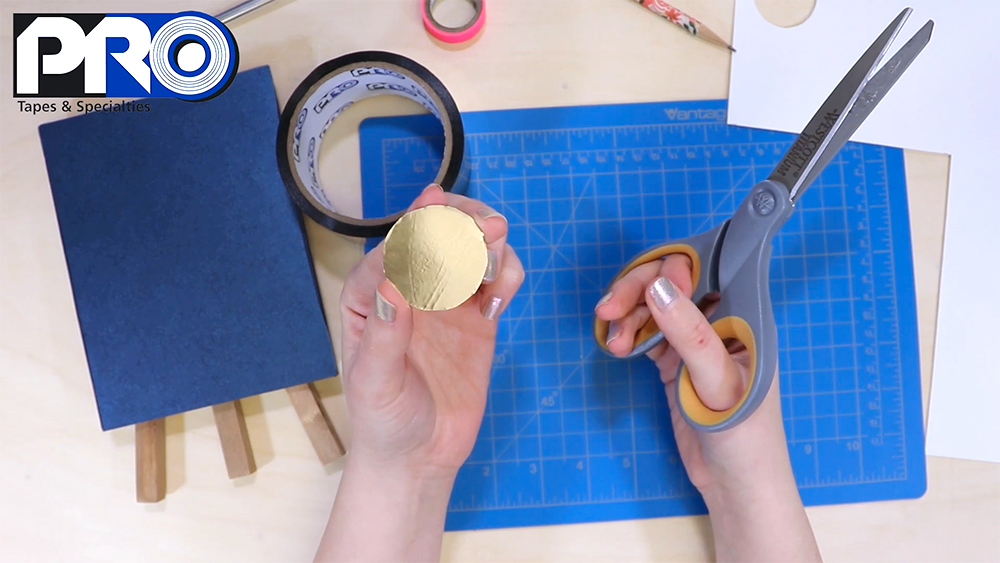
Draw a circle to cut out on a sheet of White cardstock. You can draw it by hand, or you can be like me and grab a random roll of Pro® Pocket Spike Stack and trace your circle around that. When you have this much tape on your desk, you end up using it for all kinds of things, not just sticking stuff down! Then I used my X-Acto knife to neatly cut the circle out.
I covered this cardstock circle with the Gold Pro® Sheen, and trimmed the excess off of the edges with my scissors.
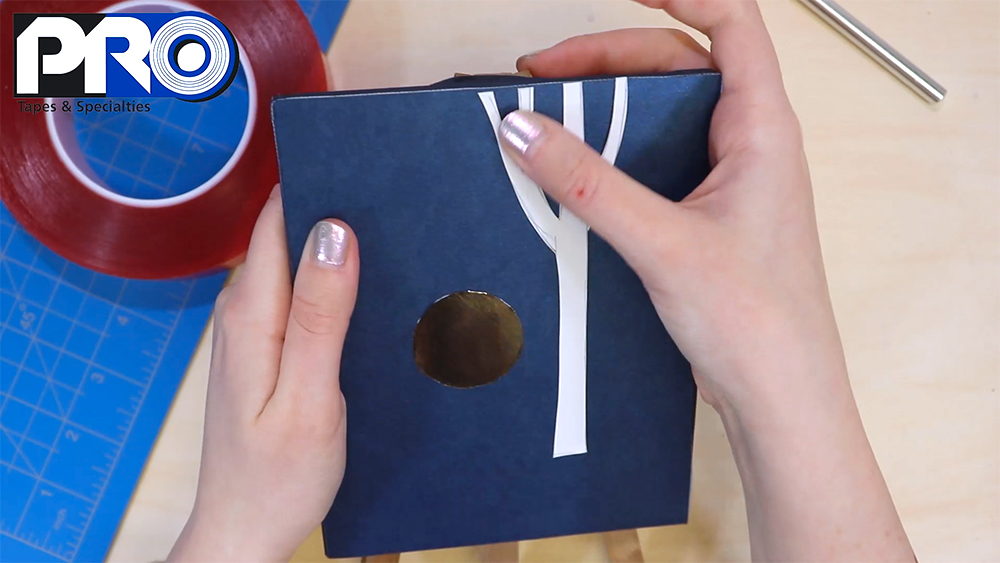
And I used a small piece of Pro® 965 to place the moon in my sky.

Step 3: Draw, Cut Out and Attach your First Tree (with Pro® 965)
In this winter wonderland scene, we’re going to have three (3) trees, made from the White cardstock. One tree will look like it’s the furthest in the back of the scene, one will be in the “middle,” and one will stick out a bit and look like the “closest” one to us.
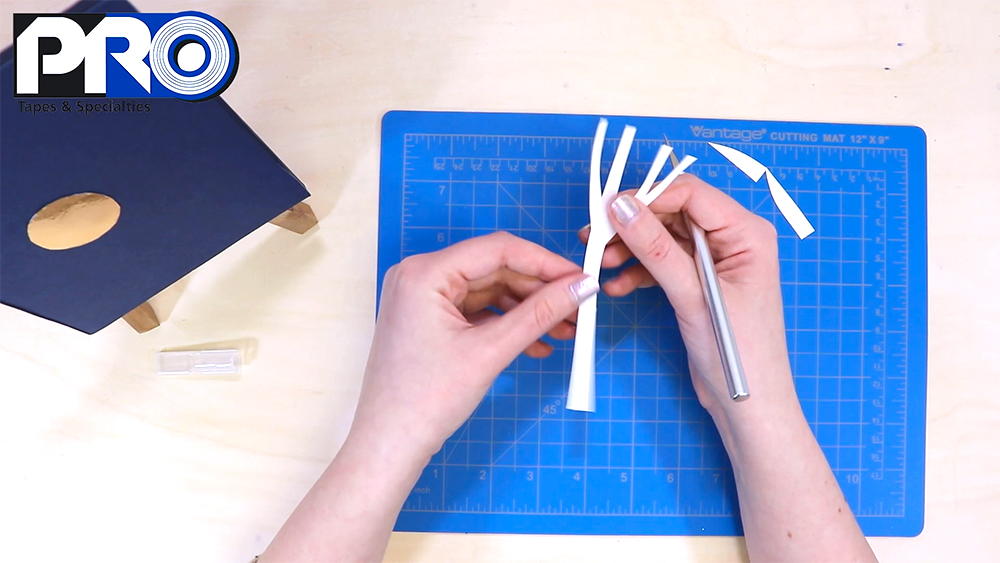
I began by sketching out my first tree (which will go in the “back” of the scene) with pencil on top of my White cardstock. I erased any extra lines or branches I didn’t like. Then I cut it out with the X-Acto knife.
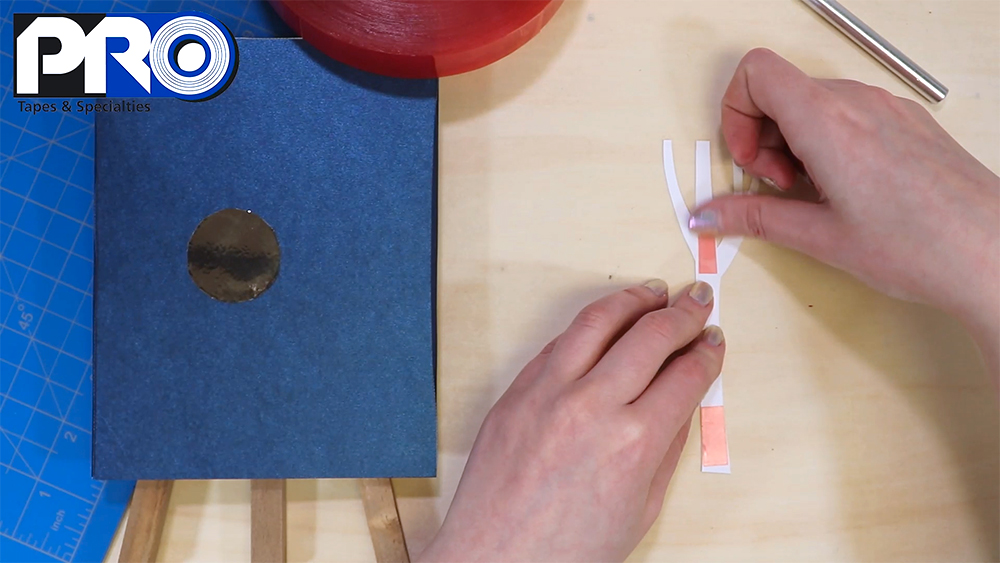
Since this tree is going in the back of our scene, it doesn’t need to stick out. That’s why I used Pro® 965, to stick it down nice and flat, instead of the Pro® 3016 foam tape – but we’ll be using that soon!
Step 4: Attach the Back Layer of Snow (with Pro® 3016)
Before we make any more trees, we need to make the back layer of snow – and use our Pro® 3016 for the first time.
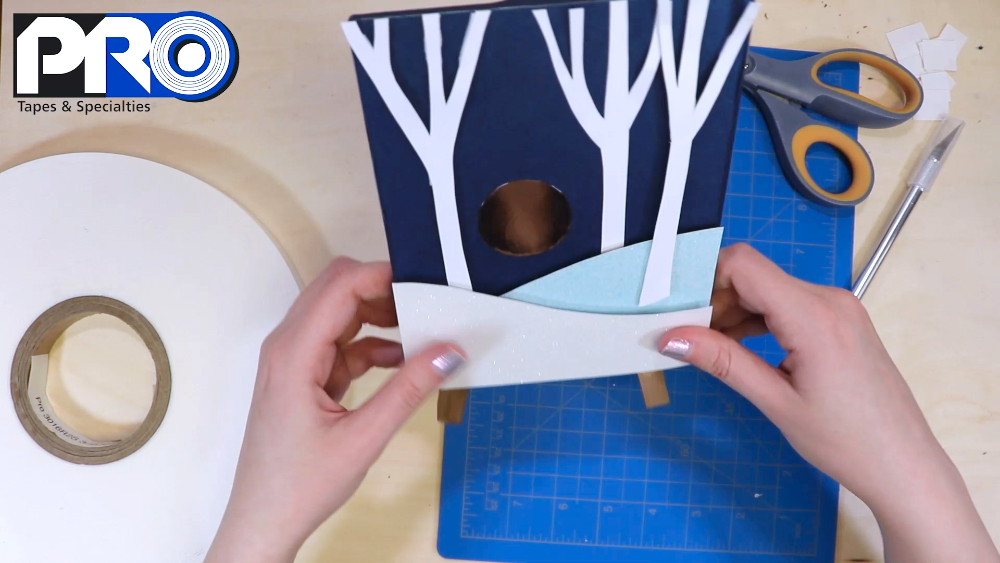
I used the Pale Blue Glitter cardstock for this layer of snow. Having it be slightly darker than the front layer of snow (which we’ll use the White Glitter cardstock to make) will actually make it look like it’s further back in our scene, in a little bit of shadow.
To get the size of the snow right, I used my easel to trace out the width and get an idea of the height of my snow. Check out the full video above to see exactly what I mean. Then I cut it out with the X-Acto.
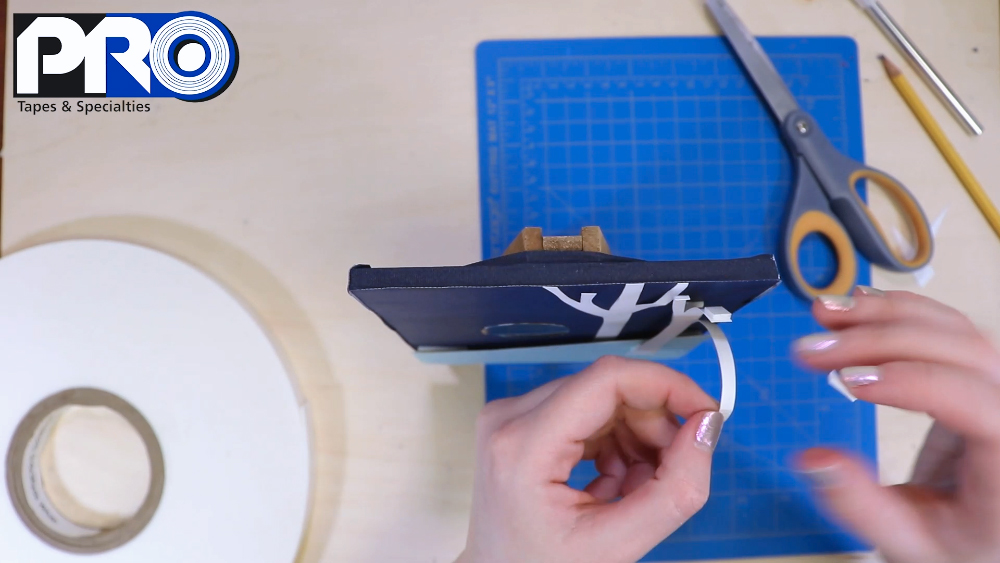
This is the first layer that needs to be 3D, so to attach it, I use the Pro® 3016 foam tape. I put cut squares of it in each “corner” of my snow.
But just one layer doesn’t make it stick out enough for me. So I peeled the liners on those squares off, then cut 4 more squares to attach on top. The Pro® 3016 tape sticks to itself really securely.
Finally, I stuck down my first 3D snow layer to the canvas!

Step 5: Make and Attach the Second and Third Trees (with Pro® 3016)
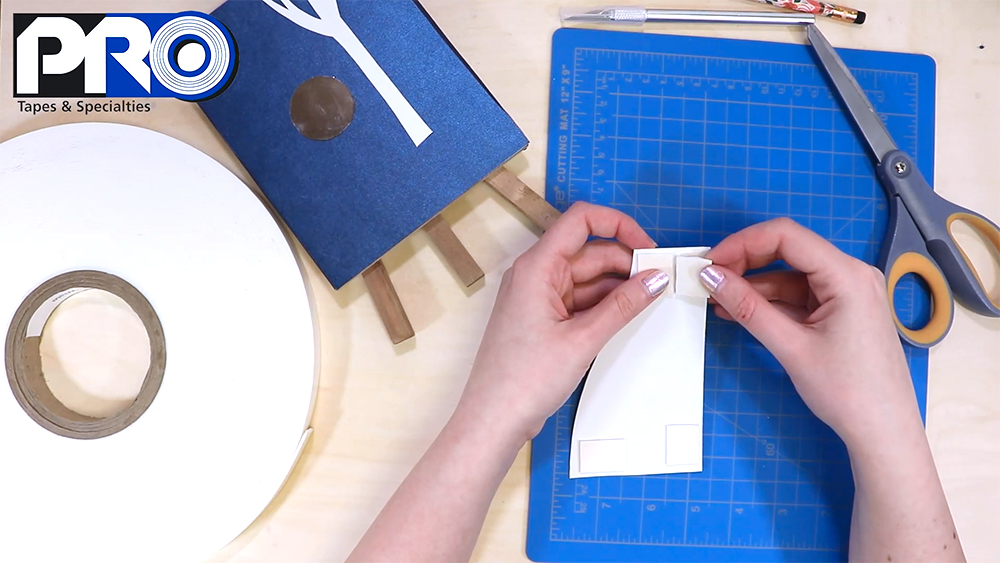
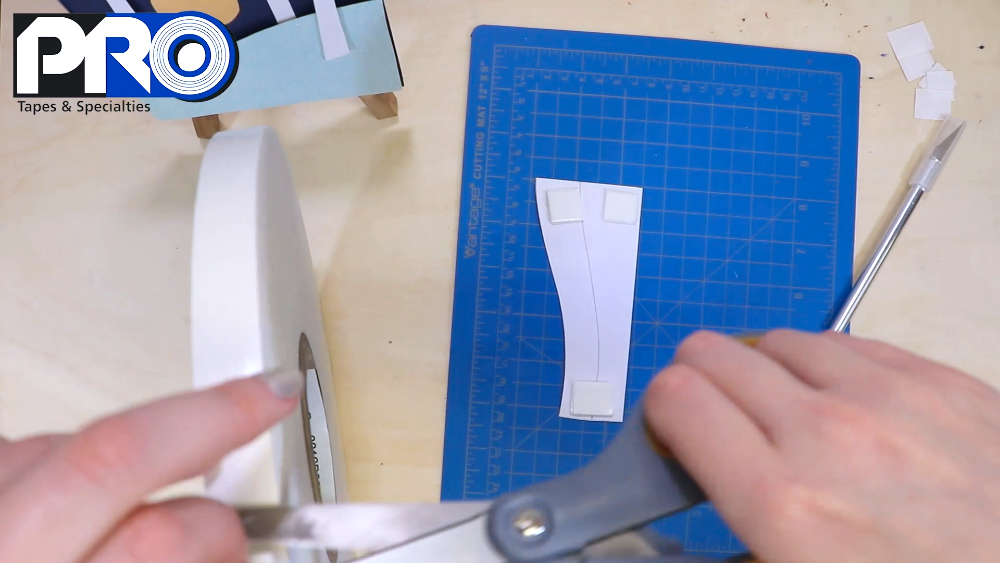
Now I could make the second tree, which will go on top of our back layer of snow. Like before, I sketched it out on the White cardstock, cut it out with the X-Acto knife, but this time I cut thin strips of the Pro® 3016 foam tape to attach the tree to the canvas.
I used a single layer of Pro® 3016 where the tree touched the snow, and two or three layers of Pro® 3016 stacked together for the sky. I even put some tape in the branches to prop them up better.
The third tree goes on the far left, also on top of the back layer of snow. I followed the same steps as before. I made sure to place this tree somewhere lower on the back layer of snow, because I want the top layer of snow (which we’re making next) to cover the bottom of this third tree.

Step 6: Attach the Top Layer of Snow
For our final three dimensional paper layer, we’re adding one last layer of snow. For this layer, I’ll use the White Glitter cardstock.
Like I did when sketching out my back layer of snow, I used the easel to trace some guide lines for the width and to guess at the height I want.
To really make this layer pop out, I made three stacked layers with the Pro® 3016 foam tape.
Take a moment to admire how awesome this 3D layered paper art already looks – but get ready to add some final details!
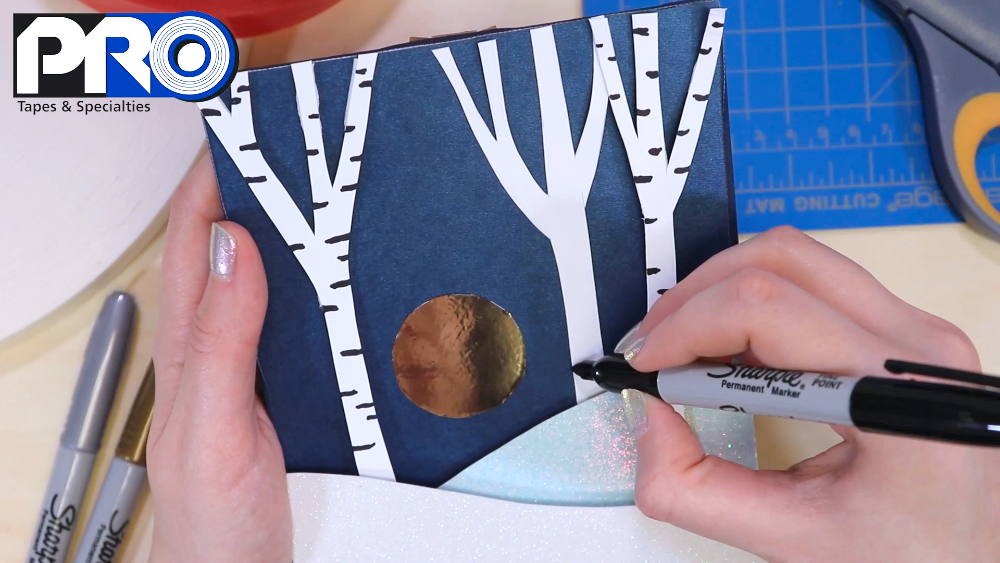
Step 7: Add Some Final Details with Sharpie
To add that final “oomph!” factor to our layered paper artwork, grab some Sharpies in Black, Gold and Silver.
First, we need to turn our plain white trees into Birch trees. For this, you just need to carefully add in some horizontal lines with the Black sharpie. Vary the length of the lines, which side of tree they’re on, and how much space you leave between the lines.
Finally, we can beautify the sky with some stars, using Gold and Silver metallic Sharpies. The Sharpie ink shows up beautifully on my cardstock, and it really shines.
I made two kinds of stars. One is a dot in the middle, with 4 short “rays” radiating out from the dot. The others are just plain dots, in different sizes. I switched between using the Silver and Gold wherever I felt like it.
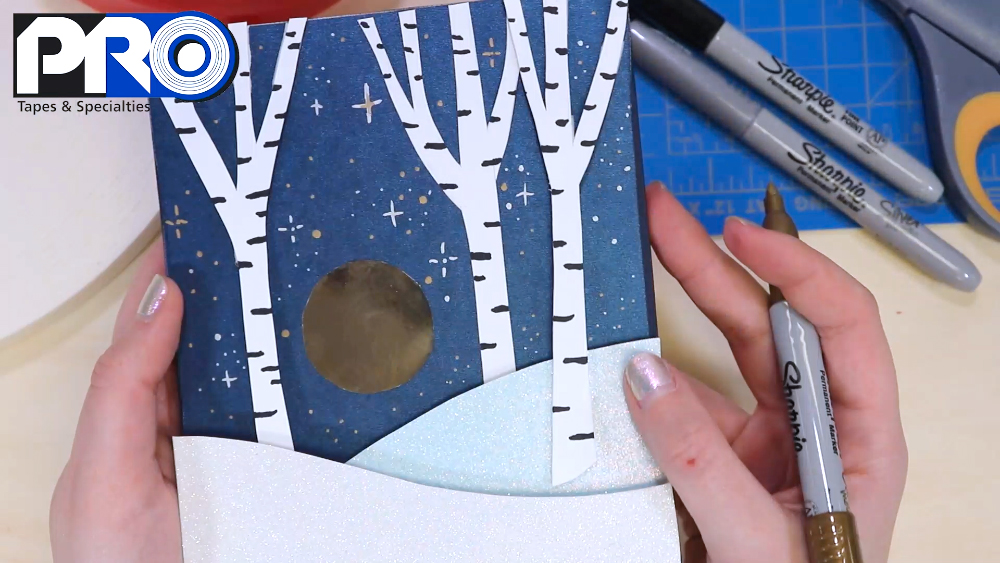
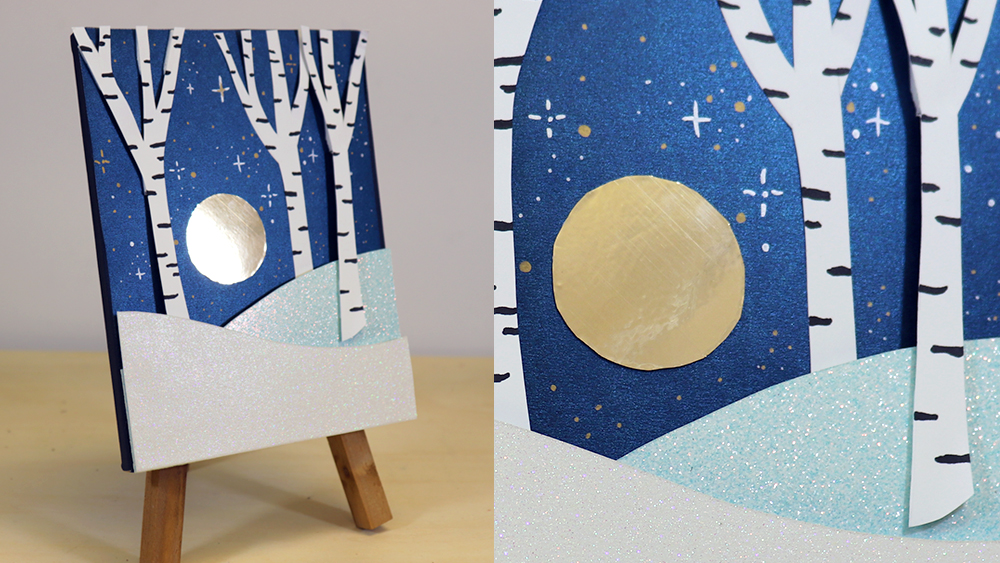
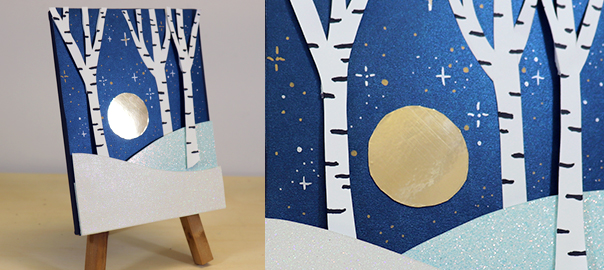
The Final Result: Winter Wonderland Layered Paper Art
The final product is complete! Doesn’t the sparkle and shine look amazing?