You don’t have to be a professional artist to DIY a mural! Adding a mural to your home can be a great way to personalize your space.
While you could hire a painter or buy a peel-and-stick mural kit, here at Pro Tapes® we like to DIY and use TAPE! Let’s check out two easy methods for creating a mural.
Use Painter’s Tape to Mask Out Your Mural (Method #1)
Supplies You Need:
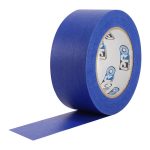
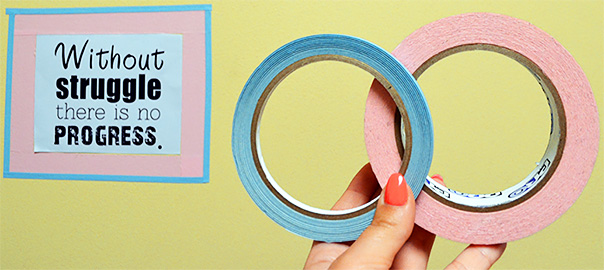
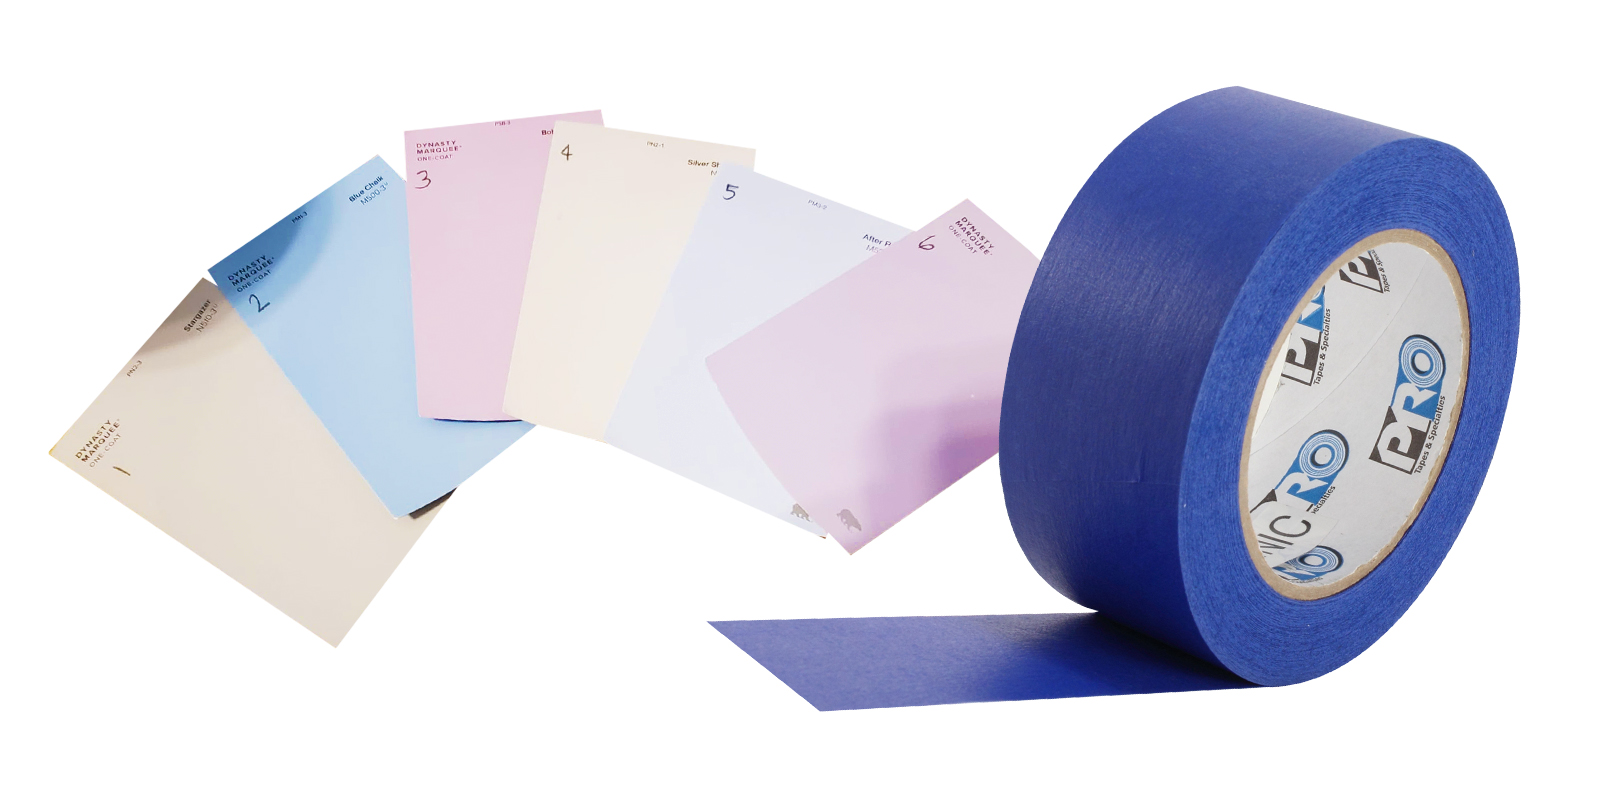
- Pro® Scenic 714 Blue Mask Tape
- Paint
- Primer, sealant
- Brushes (small and large)
- Or a roller
- A dropcloth, brown paper, or other material to protect surfaces
Step 1: Prepare the Area to Be Painted
Before you can paint, you have to prepare! Look up ideas for your mural (Pinterest is a great resource.) Consider sketching out your idea on a piece of paper, or very lightly on the walls.
Think about how the colors of the mural relate back to your room: Do you want a more muted look? Or something bold and vibrant? Whichever colors you pick, be sure to stock up on paint so you don’t run out mid-project!
Once you have your idea and your supplies ready, grab our Pro® Scenic blue mask tape and start masking off the sections that will be painted in your mural.

Can’t finish your painting project all at once? Pro® Scenic can stay on for up to 14 days and still remove residue-free.
Be sure to also protect any surfaces nearby that you don’t want paint on. Move any furniture or wall hangings out of the way. You can use newspaper, brown paper, drop cloths, or other materials to create a barrier. You can hold these barriers in place on your wall with tape, too!
Step 2: Paint your Mural
Before you get to painting, apply a primer to your wall first. Once the primer is dry, you’re ready to paint. This is the fun part, so enjoy the process!
Our Pro tip: To ensure really sharp edges along your masked edges, paint a little bit on top of the masking tape.
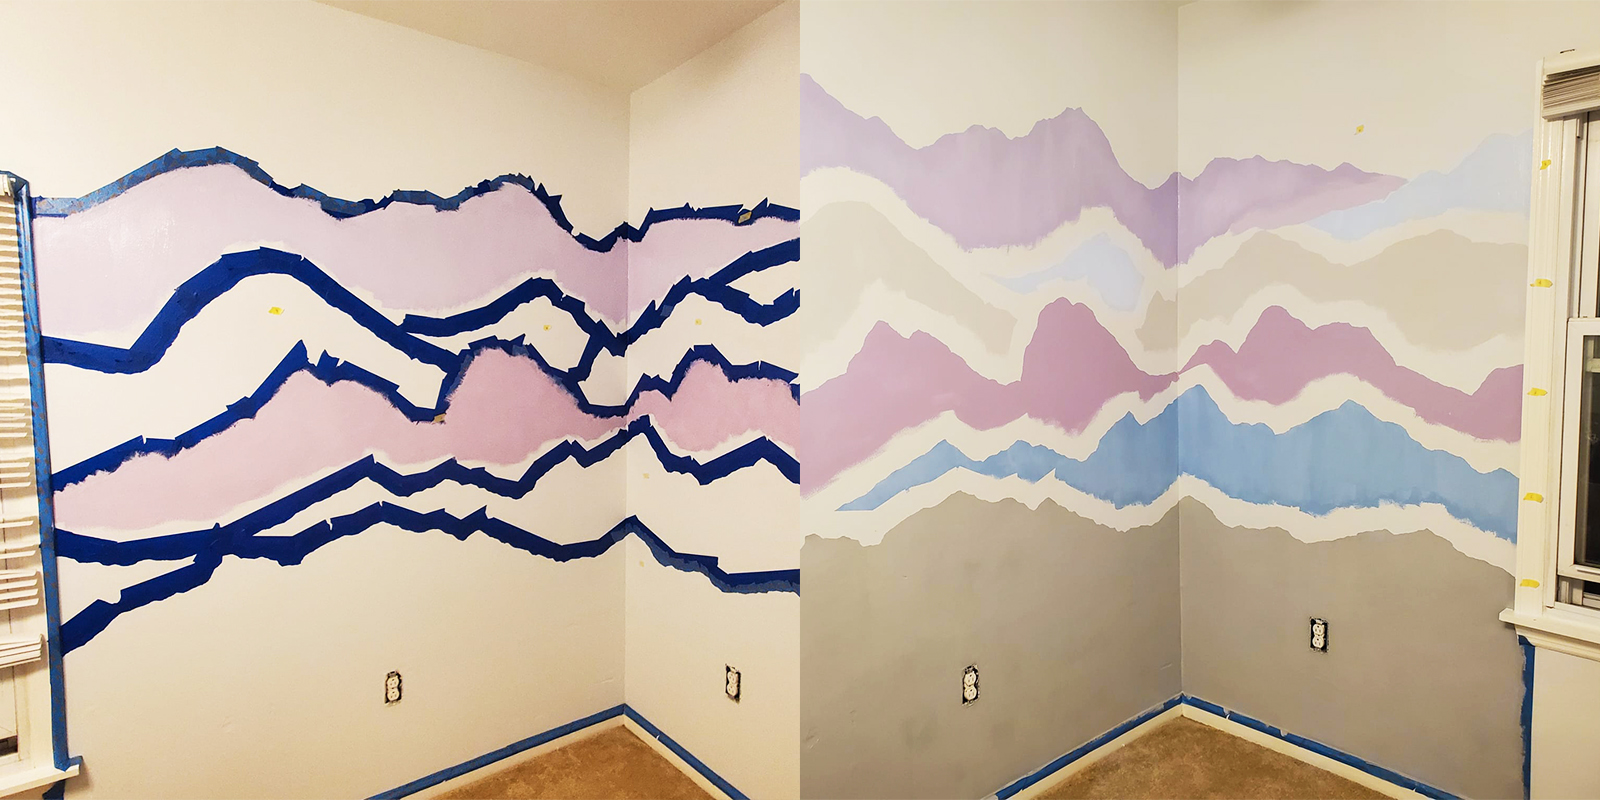
Once your paint is all dried, consider covering your mural with a sealant to protect your work. If you apply one, let it fully dry before moving on to the next step.
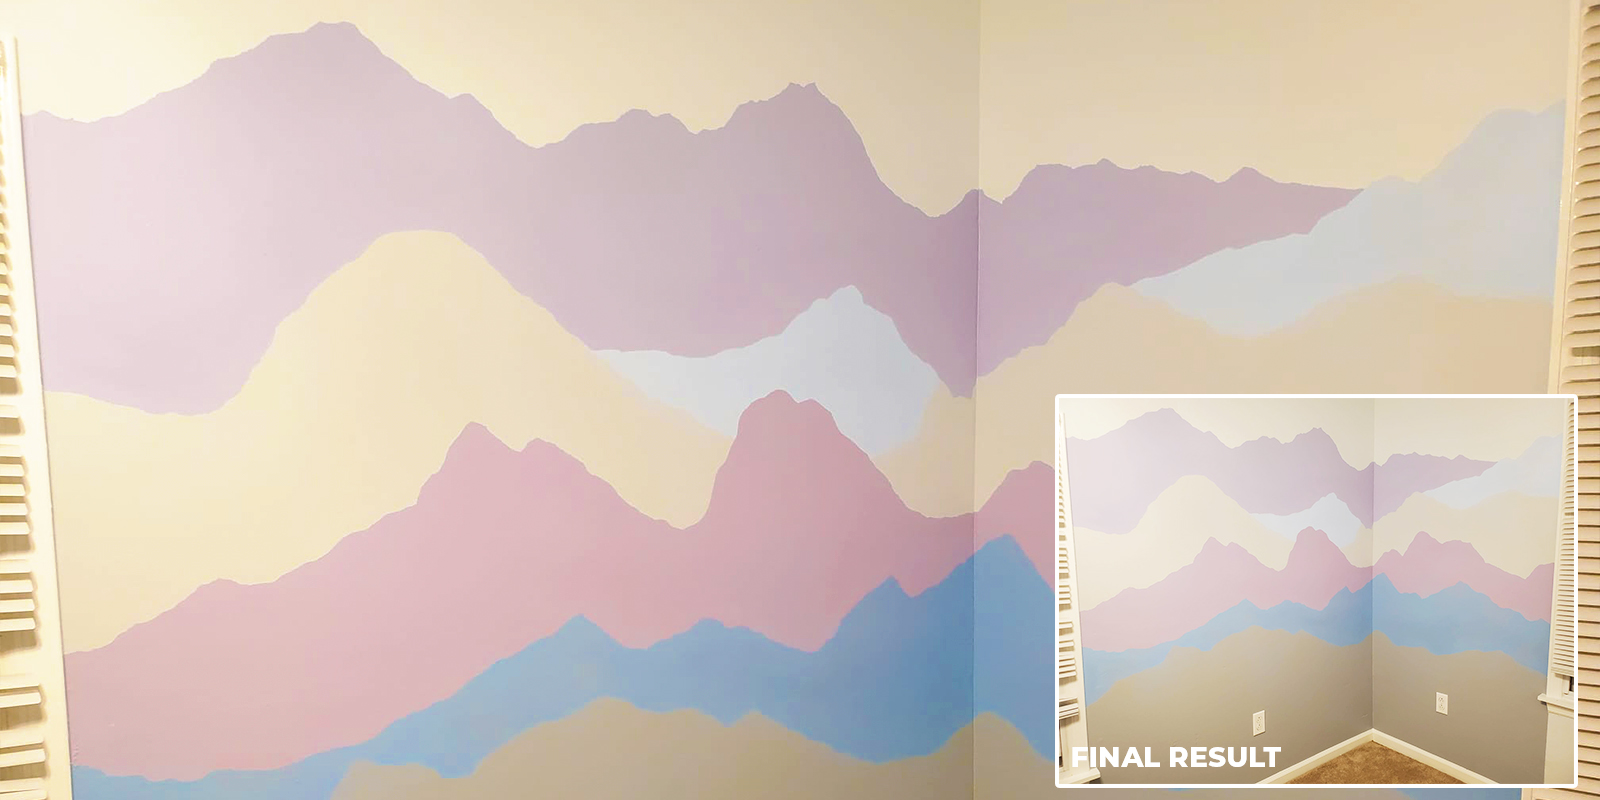
Step 3: Remove Tape, Add Touch-Ups
With everything totally dry, you can begin removing all of the Pro® Scenic tape and any surface protections. Take your time – peel the tape off slowly.
With all the tape removed, you can now spot any gaps you might have missed. You can use a small brush to fill these in.
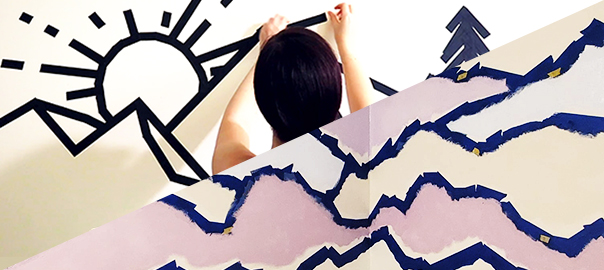
Create a Tape Art Mural (Method #2)
Supplies You Need:
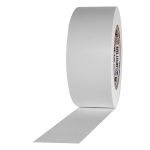
- Pro Gaff® (in whatever color you like – we offer 20 colors!)
- Optional: Pro® Artist Tape
- Scissors (Pro Gaff® can be torn by hand too)
Warning: Always Spot Test your Tape!
Not all walls are painted equally. While Pro Gaff® removes cleanly from most surfaces, poorly painted walls may experience chipping when pulling your mural off.
Before you go taping up every wall in your house, ALWAYS try out Pro Gaff® on an inconspicuous wall area (like behind a sofa or a tv.) Apply a small section of tape, rub it into the wall, and allow to sit. Peel it off slowly (never fast) and inspect the results.
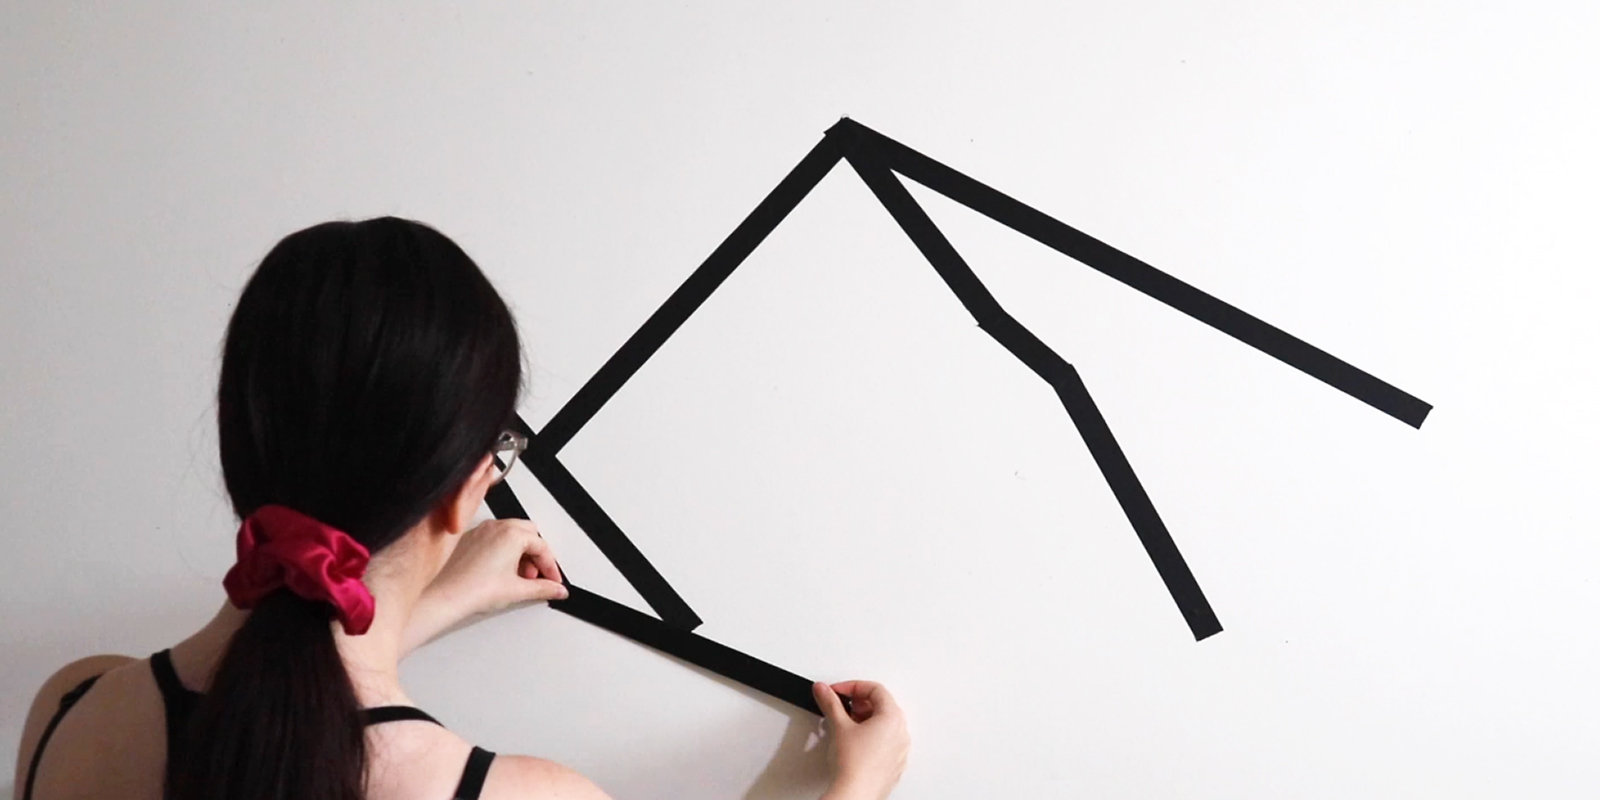
Step 1: Pick an Idea for your Mural
Before you start taping, think about what you want to do. Where are you placing the mural? On an accent wall? Above a sofa or around a TV? On a door? The possibilities are endless!
Watch our demo video to get inspired for your tape mural:
Pinterest is a great resource for finding tape mural ideas. Get started browsing with our Pinterest board!
You can finalize your idea by sketching it out on paper first. Or, just grab your tape and get to experimenting!
Step 2: Start Taping that Mural!
Once you have your idea ready, getting started on your mural is as easy as peel – rip or cut – and stick! Although Pro Gaff® can be torn by hand to any size, you can also use scissors for a more precise look.
Made a mistake? Peel the tape off slowly and reapply it to a better spot. You can even peel it the tape off, cut the tape to fix the length or shape, and stick it back on again.
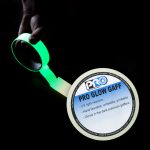
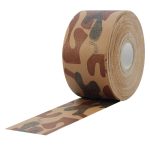
While Pro Gaff® in Black gives your mural a classic look, don’t be afraid to experiment with other colors. You can layer different colors for a unique look. There are 20 colors of Pro Gaff® available, as well as specialty tapes like Pro Glow Gaff® (that’s right – it glows in the dark), Pro Gaff® Chroma Green and Pro® Camo Gaff.
For another tape to add a pop of color, check out Pro® Artist Tape!

Show us Your DIY Murals!
When you’re done with your DIY tape mural, snap a pic and send it to us at marketing@protapes.com! We love to see our tape in action!
Get Inspired with Tape Art
You don’t have to be a professional artist to DIY a mural – but you can get inspired by artists! For more creative mural and tape art ideas, take a look at our Pinterest board or check out our Artist Feature blog series.