Today, we’re sharing some tips and tricks for shadow box framing for first timers! This is a great framing option for displaying multiple keepsakes or collectibles. Our Pro, Nicole, will show us how she framed keepsakes from her wedding with the help of four Pro Tapes® products.
Let’s Get Shadow Box Framing with Nicole!
Hey folks! I’m a long time tape user, but a newbie to shadow box framing. However, thanks to Pro Tapes® the process was super easy!
The four Pro Tapes® products I used to create this shadow box frame were:
- Pro® Flocking
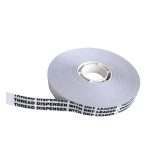
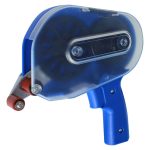
- Pro® 410 ATG (along with our Pro® ATG HD Dispenser gun)
- UGlu®
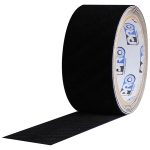
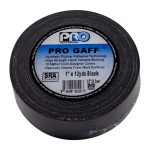
- Pro Gaff®
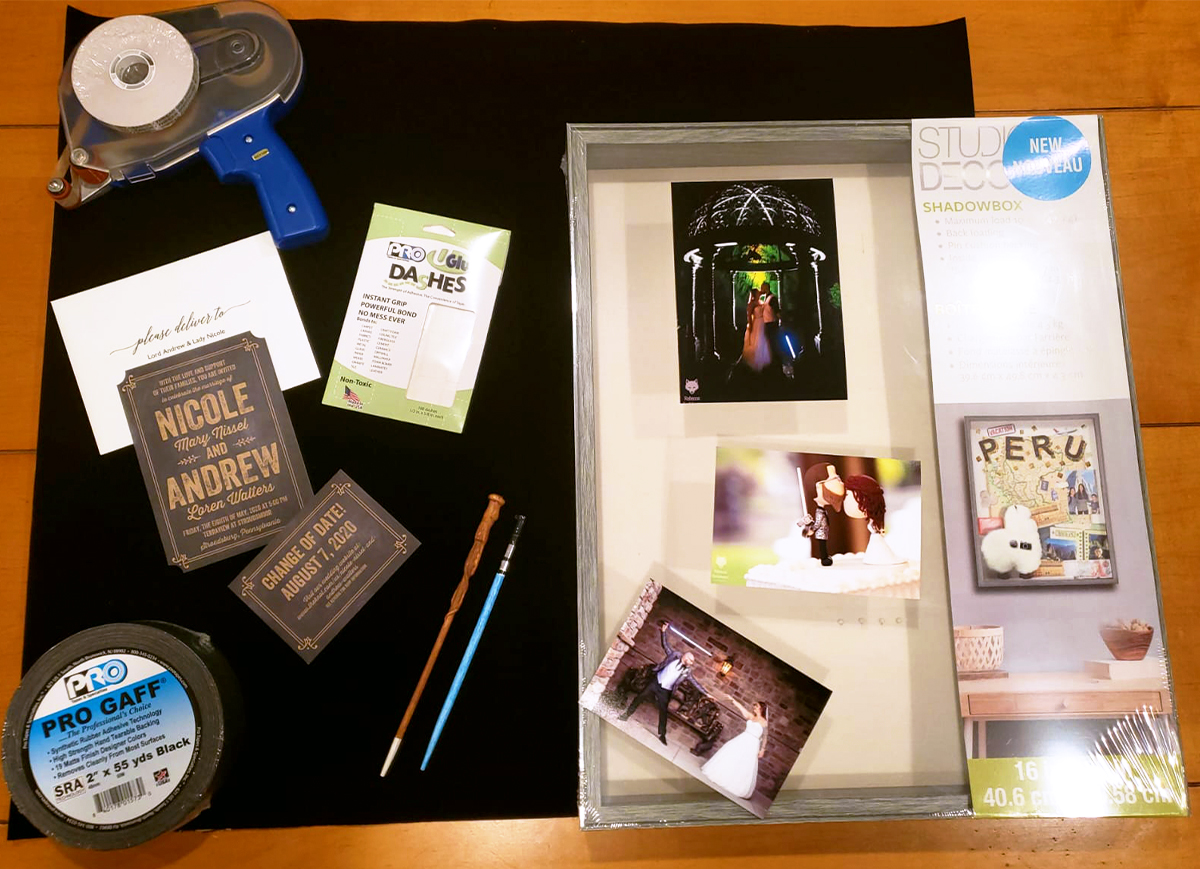
Step 1: Gather Your Items to Be Framed
Your first step is to gather all of your items and tools:
- Any items that you want to frame
- The shadow box itself (I bought a premade one)
- And most importantly, tape!
For this project, I used items from my wedding that I have been meaning to frame.
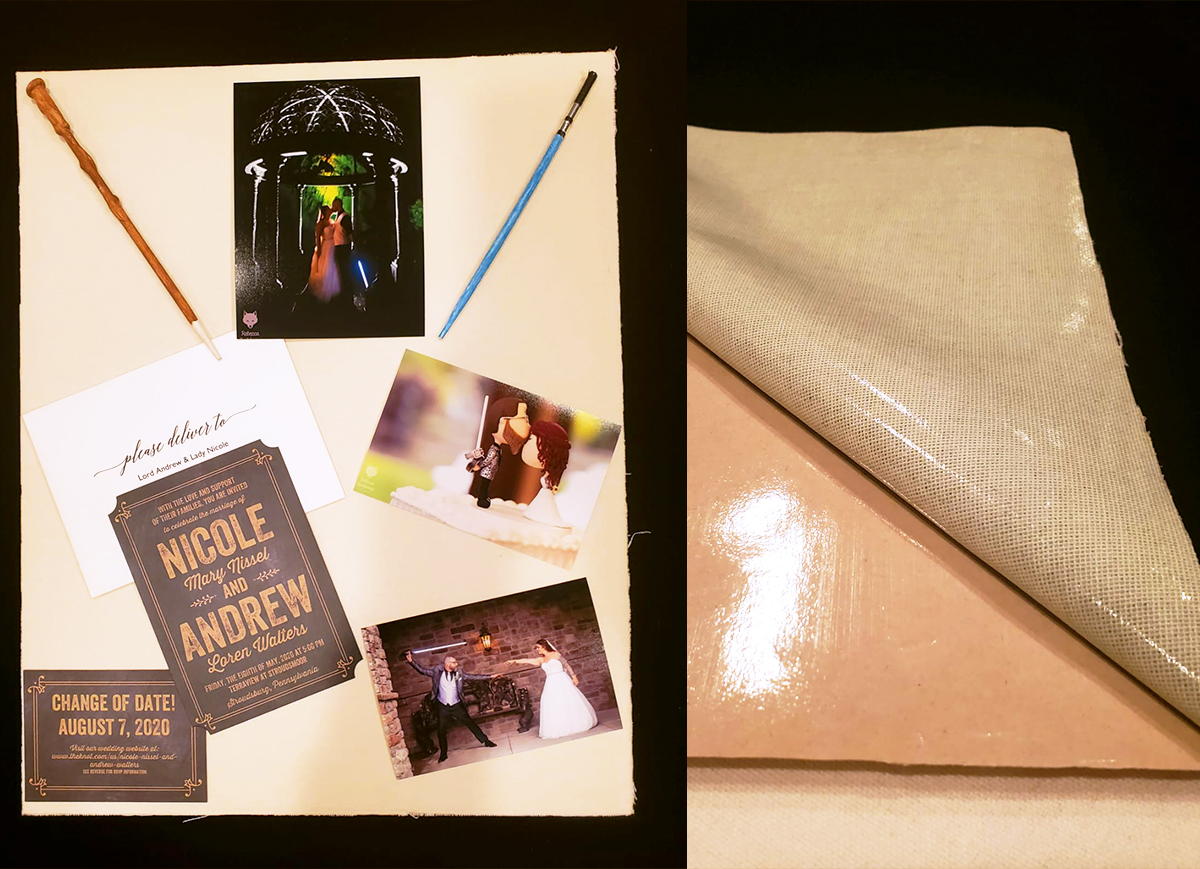
Step 2: Prepare your Layout
Don’t wing your layout – practice it first! I laid out how I wanted all of the pictures and items arranged in the shadow box to figure out what the best layout would be.
Try different combinations until you find the one you like best.
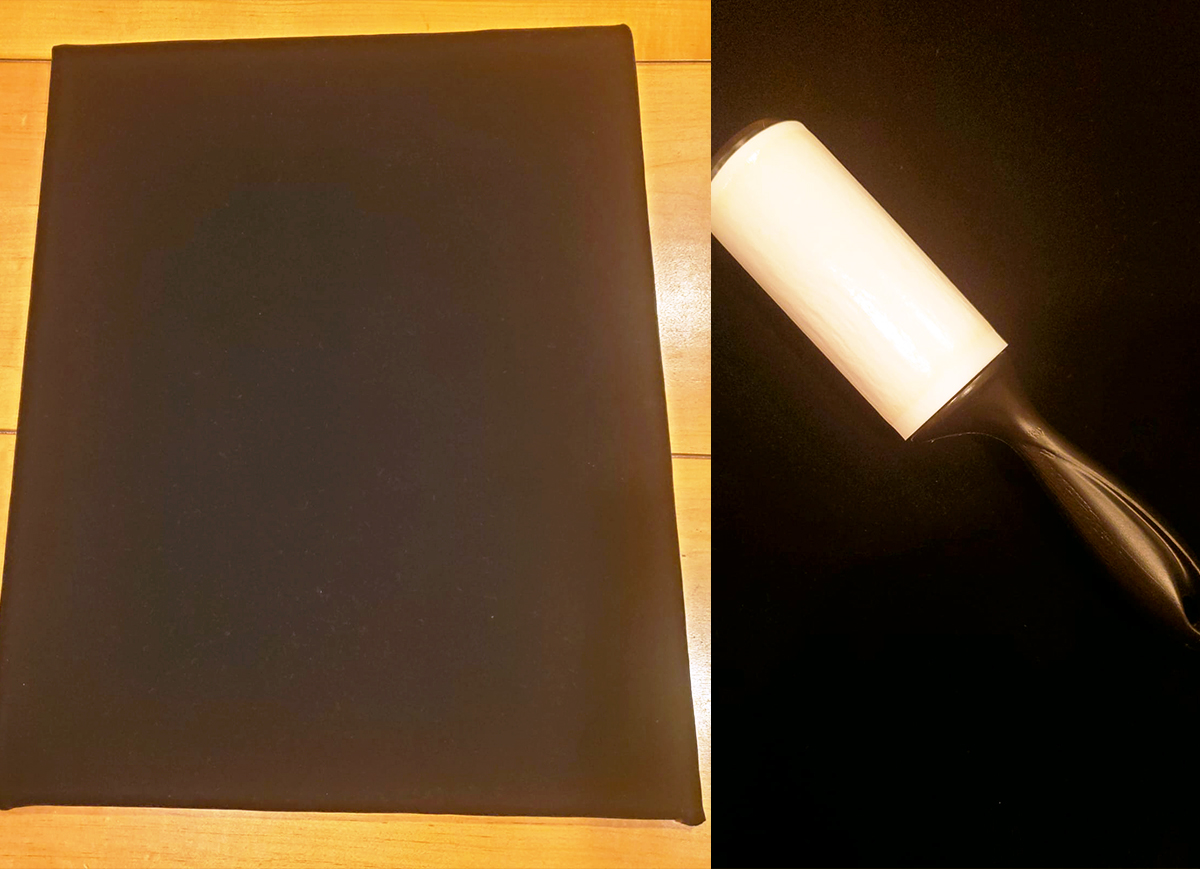
Step 3: Create a Velvety Background with Pro® Flocking Tape
This specific shadow box I used as my base came with a canvas background, which I wasn’t a fan of. I wanted to have a darker background. This is where our first product comes in!
Pro® Flocking tape has an amazing permanent acrylic adhesive that allows the product to stick to low surface energy materials. In this case, it adhered to the canvas backing like it was always made to be there.
The liner that is included with Pro® Flocking tape made it easy to apply it to the canvas background gradually. It gives you time to apply it carefully and rub out any creases that might come up.
If the velvet of Pro® Flocking gets dirty, dusty, or covered in pet hair (pet owners will understand), I have a simple PRO tip: Use a lint roller! A lint roller works wonders for fur and dust removal.
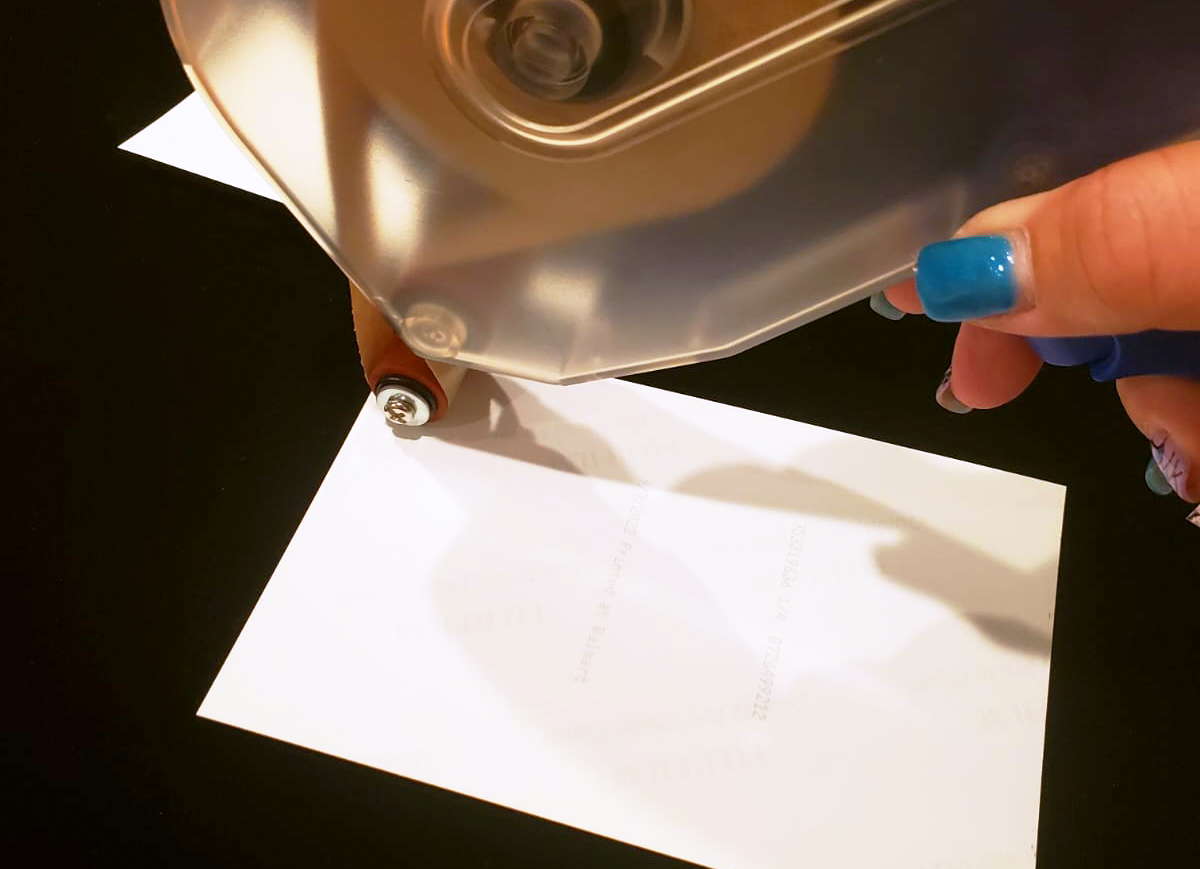
Step 4: Stick down photographs with Pro® 410
With our new background complete thanks to Pro® Flocking tape, it’s time to mount our pictures. For that, I used Pro® 410 ATG tape, which I applied using our ATG dispenser.
I used Pro® 410 to adhere the pictures for multiple reasons:
- It is a thin tape, so you won’t get any lines or bumps coming through the front of the photo
- The acrylic adhesive on the Pro® 410 is strong enough to bond to a variety of materials, such as the flocking fibers on the new background I made
I applied Pro® 410 to the back of the printed pictures along all 4 sides. This ensures the best bond and prevents pictures from peeling off once the shadow box frame is hung up.
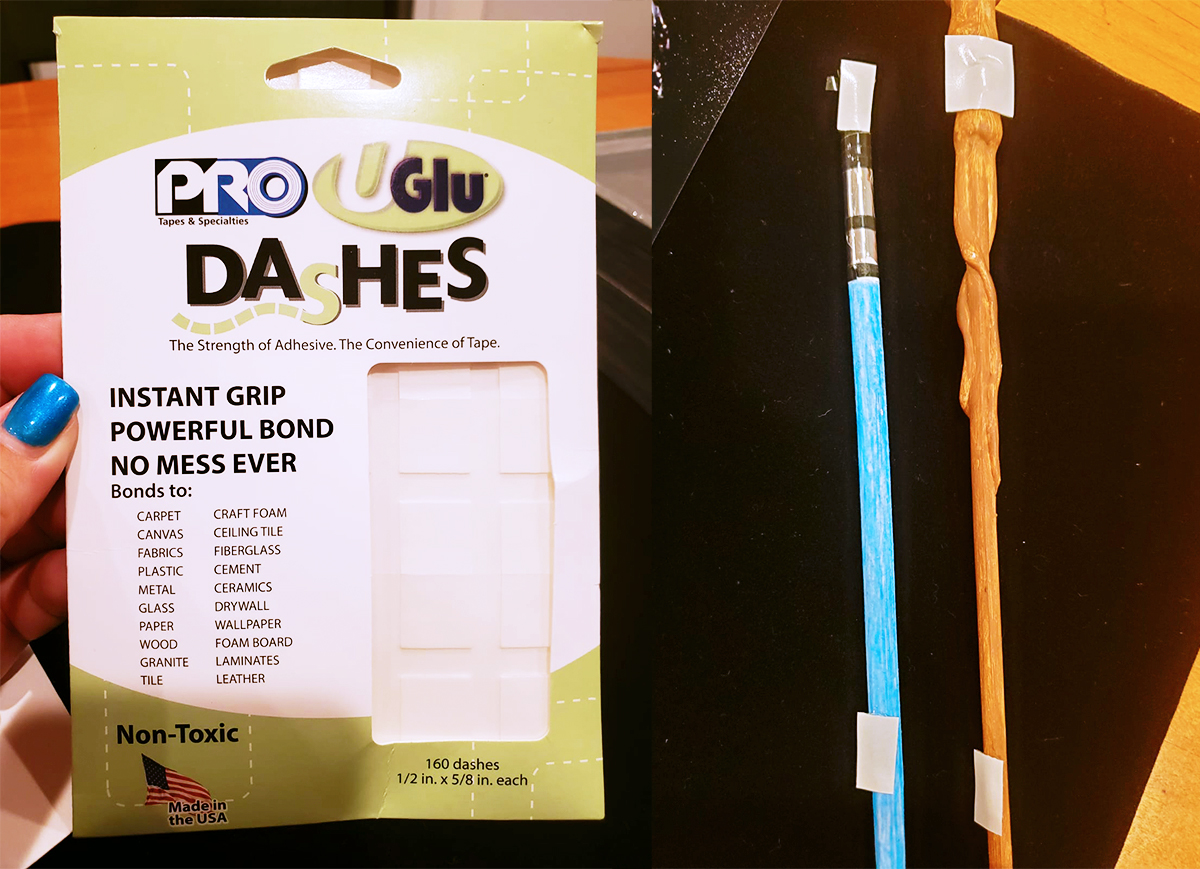
Step 5: Stick Down Bigger Items with UGlu®
Next, I used UGlu® to hold down bigger and odd-shaped items to the flocked background. This double sided tape comes in a variety of convenient shapes and sizes. Thanks to the paper backing on each piece of UGlu®, you can also use scissors to cut it down to even smaller pieces as needed.
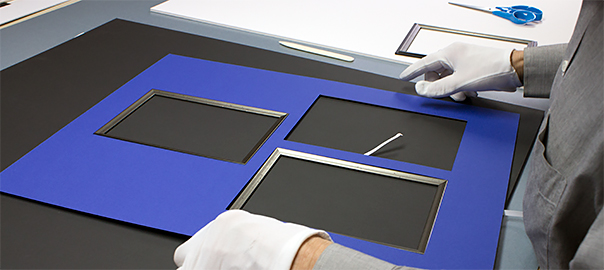
I used UGlu® to attach thicker cardstock invitations, as well as a homemade magic wand and homemade mini lightsaber. The wand and lightsaber are as thin as chopsticks in some areas, so being able to cut the UGlu® strips down to smaller pieces was really convenient here.
Even with some of the unevenness of the items, UGlu® adhered really well to them. That is the magic of UGlu®: your objects do not have to be perfectly flat! It works incredibly well with odd shapes and uneven surfaces to ensure a fantastic bond.
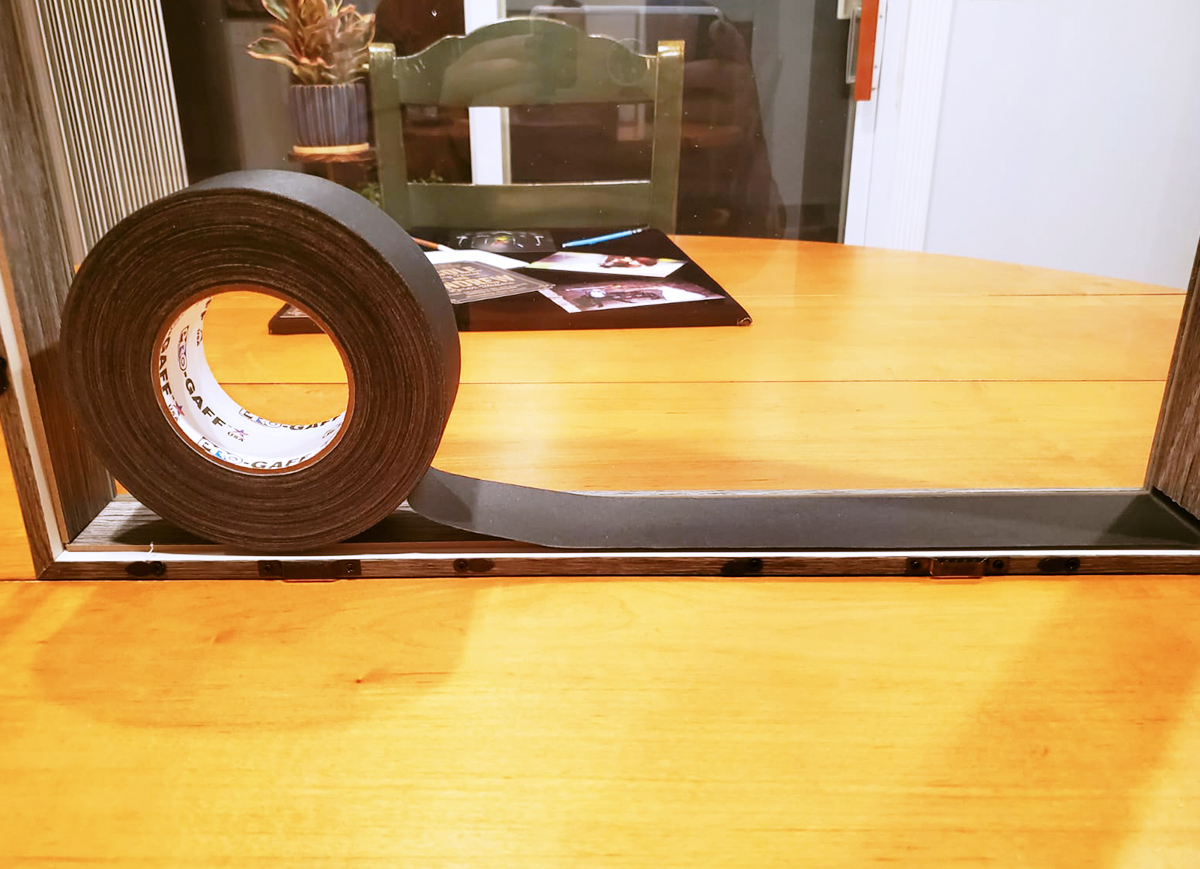
Step 6: Finish the Edges of your Shadow Box Frame with Pro Gaff®
Lastly, I used black Pro Gaff® tape in Black along the inside of the shadow box frame. Instead of leaving the sides grey like the original shadow box frame had, I wanted to match the new background I created and give the frame more visual depth.
Just so you know, you don’t have to use the same colors as me for your frame! Pro Gaff® comes in many different colors, which gives you tons of creative freedom. You can mix and match as you like to fit your color palette or to match the décor around your frame.
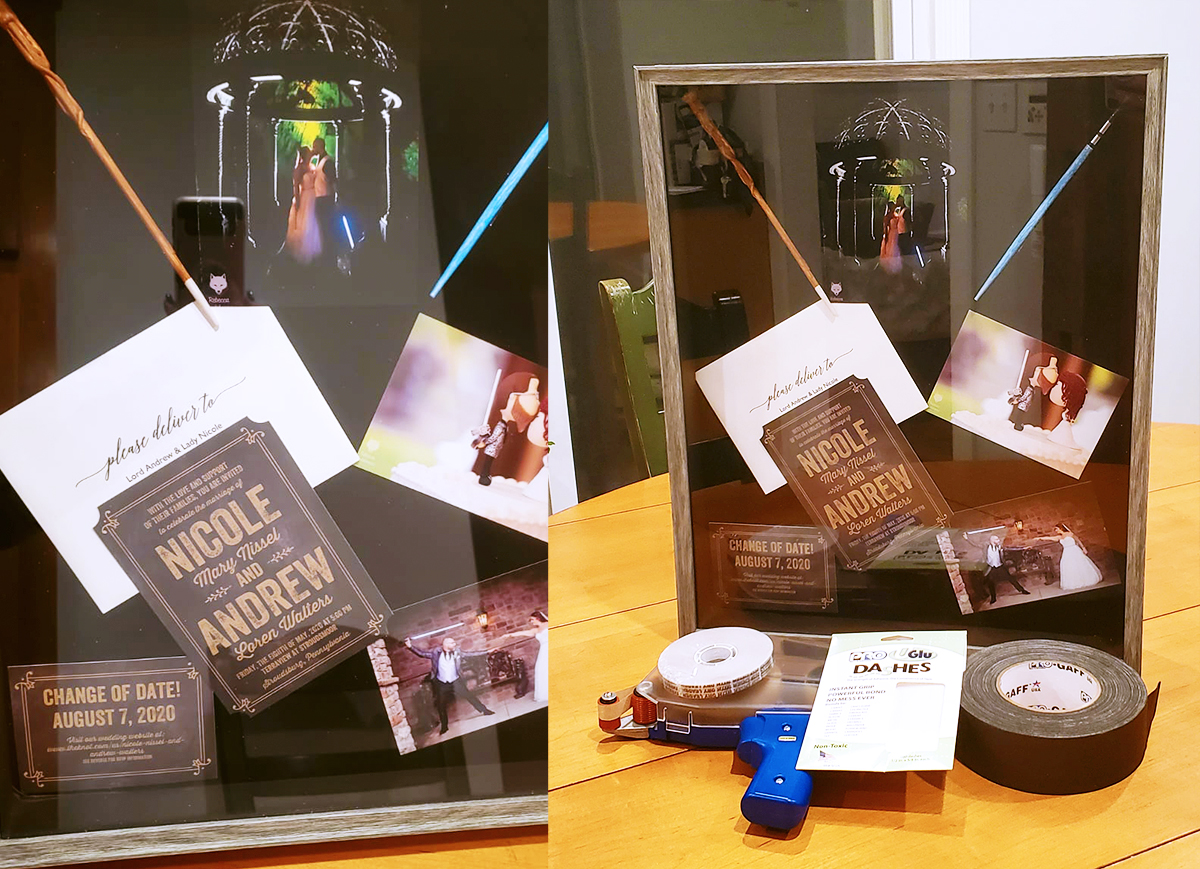
Final Result
Considering this was my first time ever custom framing with a shadow box, I had tons of fun doing it! I feel inspired to take on more custom framing projects in the future.
What made everything that much easier was working with Pro Tapes®’ high quality products! If you’re thinking of taking on your own shadow box framing project, I highly recommend them.
LOOKING FOR THE RIGHT TAPE? ASK THE PROS!
We offer many more tape solutions for picture framing. Reach out to us, and our experienced customer success team will be happy to help you find the tape that meets your needs. Contact us today at sales@protapes.com.