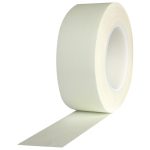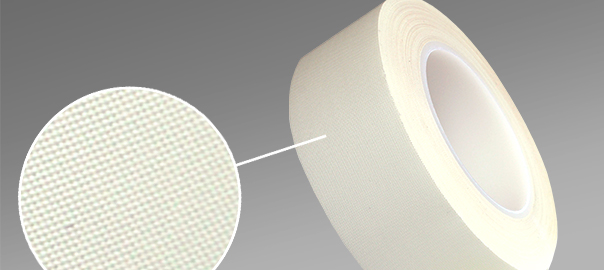
Our Pro® 730 Glass Cloth tape is a 7.0 mils woven fiberglass cloth tape with a rubber based thermosetting adhesive. It is designed for high temperature applications.
About Pro® 730 Glass Cloth Tape:
The thermosetting feature of Pro® 730 Glass Cloth tape creates a dependable bond where high heat temperature occurs; once it reaches a certain temperature, the bond strength is achieved. This tape can withstand continuous temperature up to 260°F / 130°C (depending on the type and duration of the heat source.)
Our Pro® 730 Glass Cloth is flexible and conforms to uneven surfaces and irregular shapes. The backing will not shrink, rot or burn and offers abrasion protection/puncture resistance.
Pro® 730 is designed to operate in 2,000 volts dielectric strength (Max.) dry applications requiring high tensile strength, strong holding power. The scientifically designed non-corrosive rubber adhesive system resists degradation and provides corrosion free protection from chemicals and other contaminants.
Other key characteristics of Pro® 730 include:
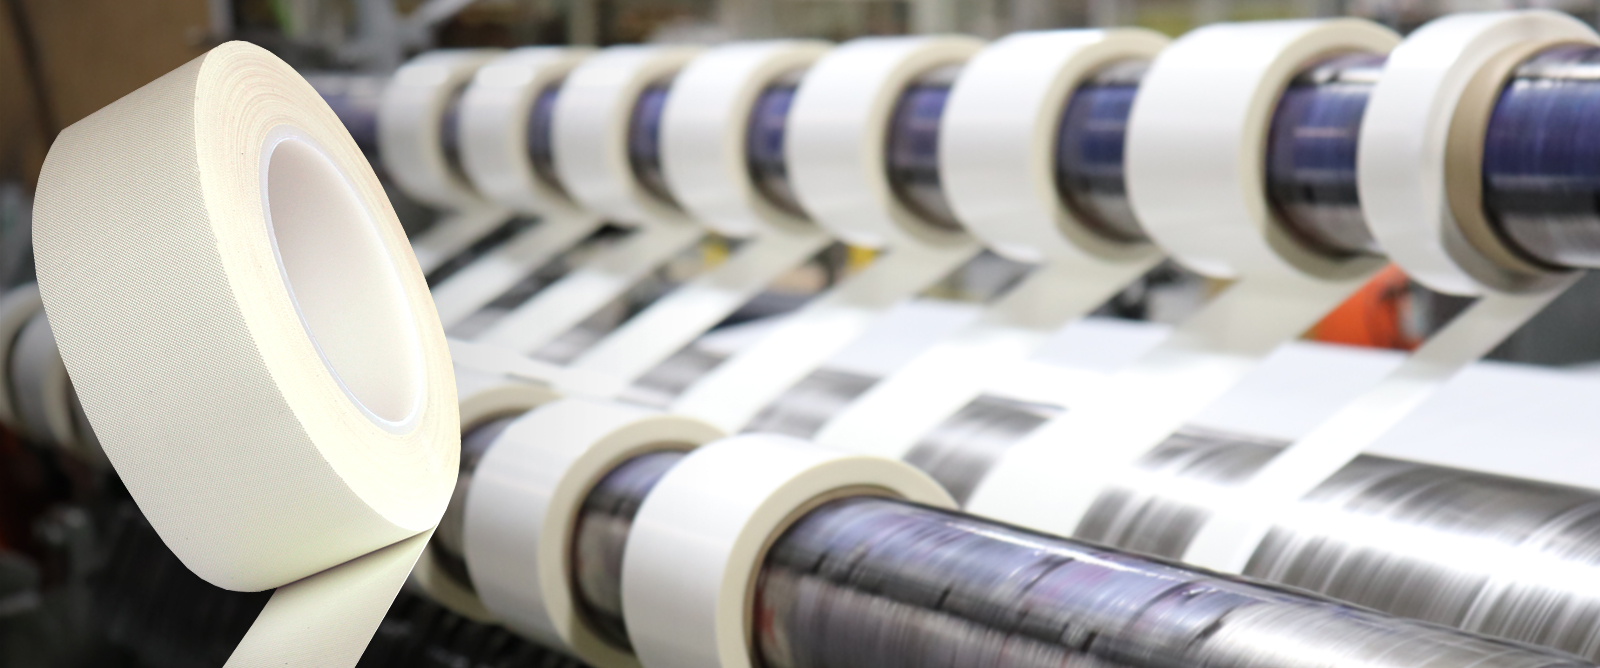
- Printable
- UL Recognized
- Complies to Military Specification
- Backing: 5.0 mil Glass Cloth
- Adhesive: Rubber Thermosetting
- Color: White
- Total Tape Thickness: 7.0 mils
- Tensile strength: 170 lbs. per inch
- Elongation: 8%
- Adhesion to steel: 40 oz. /in
- Dielectric Breakdown: 2
- Specifications: UL List E82910. MIL-I-15126 Type GFT
For more information, please see the product spec sheet here.

Uses & Applications for Pro® 730
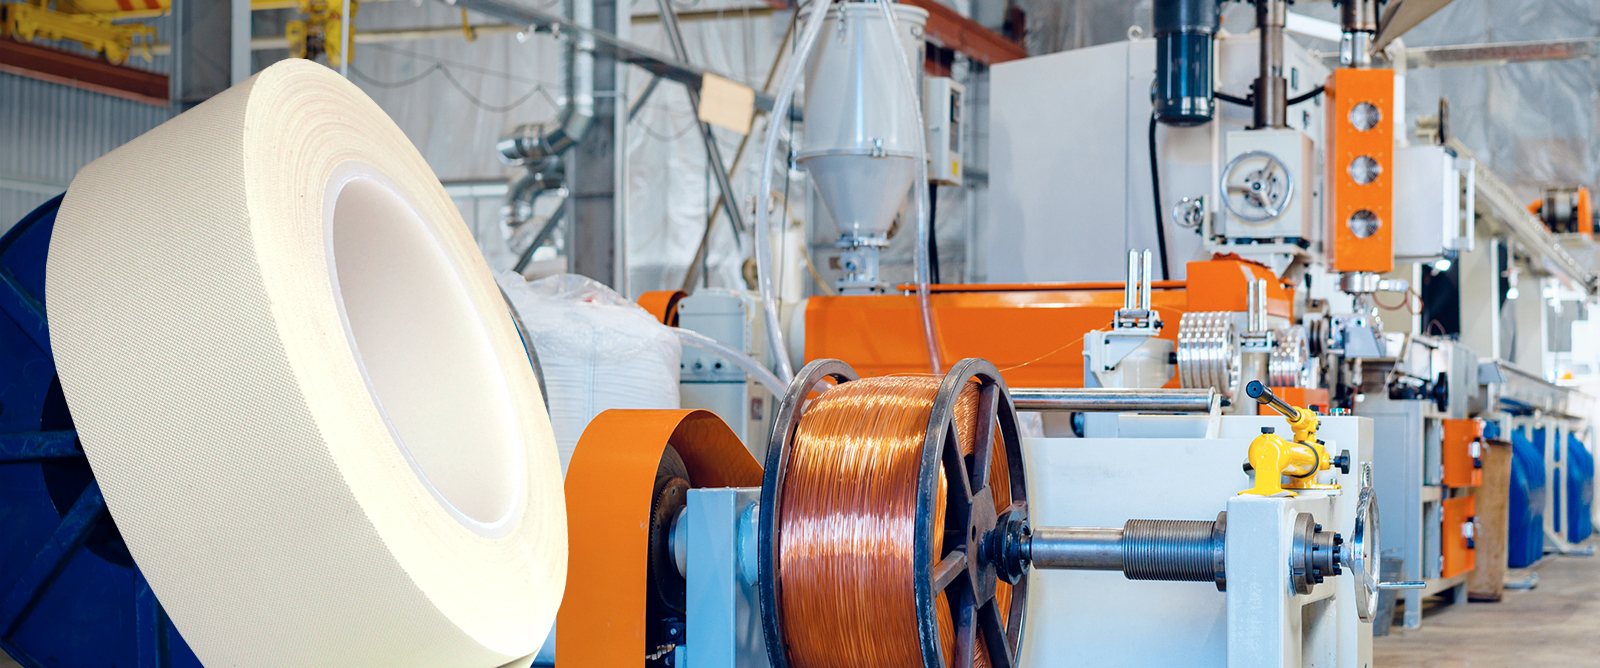
Our Pro® 730 Glass Cloth tape is widely used in the transformers, electrical coils, heat furnace and similar markets. It is an ideal solution for electrical maintenance such as:
- Coil Wrap in capacitors, transformers and motors.
- Crossover insulation and coil banding.
- Electrical insulation
OTHER MARKETS SERVED:
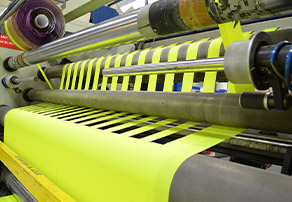
The glass cloth market is expanding at a rapid pace to other market segments such as Renewable Energy, Transportation, Marine, Construction, Aerospace and Defense, due to the increasing use of glass cloth tapes as electrical insulators in the manufacturing sector.
The cost effectiveness of glass cloth or fiberglass cloth tape plays a major role to the market growth when compared to alternate products within the industry.
Our Custom Specialty Solutions:
Using our range of converting capabilities, we can offer glass cloth tapes in custom widths & lengths or in die-cuts shapes/sizes.
We also offer other types of glass cloth tapes, which include a more aggressive thermosetting rubber resin, a solvent resistant acrylic or a high temperature silicone adhesive.
THE PRO TAPES® TEAM IS HERE FOR YOU!
To identify the right fiberglass cloth or glass cloth tape for your project, please contact us! Our experienced inside Sales team would be more than happy to help you learn more about our product offerings. We are committed to helping you identify the right solution for your project.
You can reach out to us any time at sales@protapes.com