Read on to learn how these beautiful mailboxes were made by our resident artist, Becky Sarkozy!
HOW TO ENTER:
THIS GIVEAWAY IS NOW CLOSED AS OF 7/25/2019. Congratulations to our winners!!
Step 1: Go to our Instagram (@protapes) and follow our Instagram page.
Step 2: Find our Mailbox Giveaway post and comment with which mailbox you’d like to win (“Lakeside Home” or “Big Red Barnhouse”).
Step 3: That’s it! Winners will be announced one (1) week from the date of the announcement post. There will be one winner for each mailbox!
Winners must be of legal age for entry (18) and must live in one of the 48 contiguous states. Winner must have a physical mailing address capable of receiving the winning package (we cannot ship to a P.O. box.)
Learn how these masterpieces were made, with tapes from Pro®!
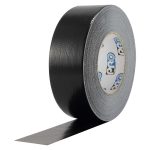
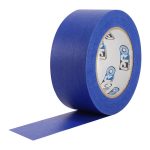
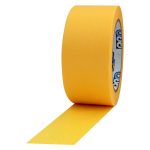
Not too long ago I was cleaning out my desk drawers, and of course I had A LOT of tape, and not enough drawer space for it! I had a lot of Pro® Duct 120, Pro® 714 and Pro® 788. I scratched my head at first. These were vastly different tapes! ProⓇ Duct 120 has excellent holding power, a waterproof backing and has fantastic conformability and tack. It is permanent and has a shiny finish, whereas ProⓇ 714 is a blue mask painters tape and ProⓇ 788 is a premium painters tape typically used in the automotive industry.
I really had to think outside the BOX on this one. Autumn was coming around so I wanted to do something outdoorsy…and that’s when it hit me! Mailboxes!! I decided to design two mailboxes, each showcasing different benefits and features of each of the tapes.
For the first mailbox, I decided to do a lakeside design only using ProⓇ Duct 120 in a variety of colors. For the second mailbox, I would use the ProⓇ 714 & ProⓇ 788 to mask and spray paint a barn house design (because those tapes are amazing at producing clean crisp lines and removing cleanly, too.) Using these tapes to create these mailboxes was not an easy task, but it was fun and challenging! A lot of what I did was on the fly, but I did my best to give you guys a “How-To” below.
Decorating the Mailboxes
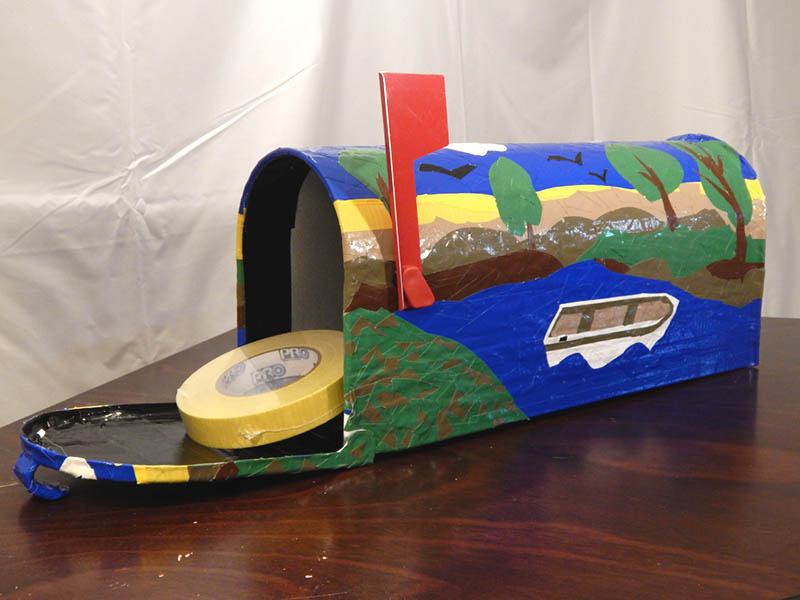
MAILBOX #1: Lakeside Home
Materials:
- X-Acto™ blade and cutting mat
- ProⓇ Duct 120 ¼ inch, 1 inch, and 2 inch
Colors: White, Black, Tan, Brown, Yellow, Olive Drab (Olive Green), Green, and Blue
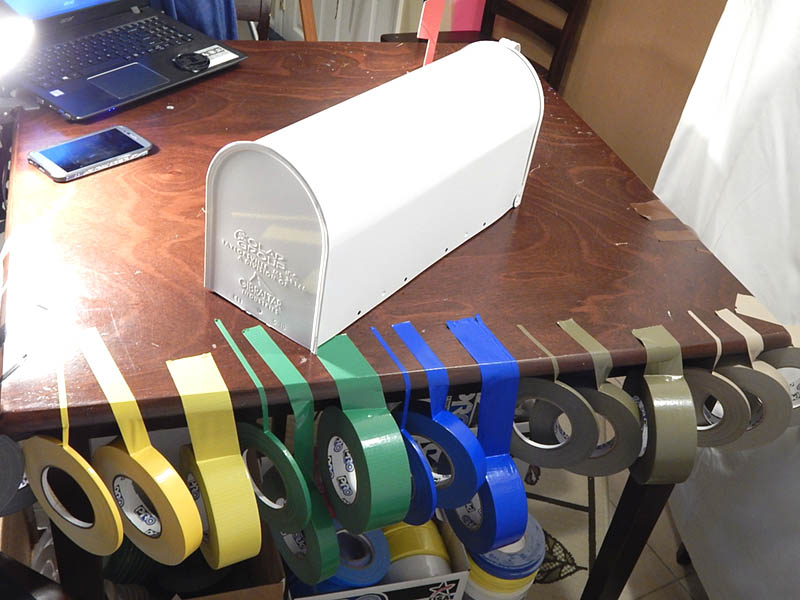
The mailbox has a smooth metal surface, so I knew the ProⓇ Duct 120 would cling to it with no problem, and it would easily stretch over the rounded top and sharp corners along the edges without creasing or bunching up. I pulled out my cutting mats and an X-Acto™ blade, and began slicing through tape, peeling it up off the mat, and sticking it to the mailbox. I found myself knee deep in ripping and cutting ProⓇ Duct 120 in different lengths and geometrical shapes, layering them just like you would colors in a painting; creating shapes and movement all around the mailbox.
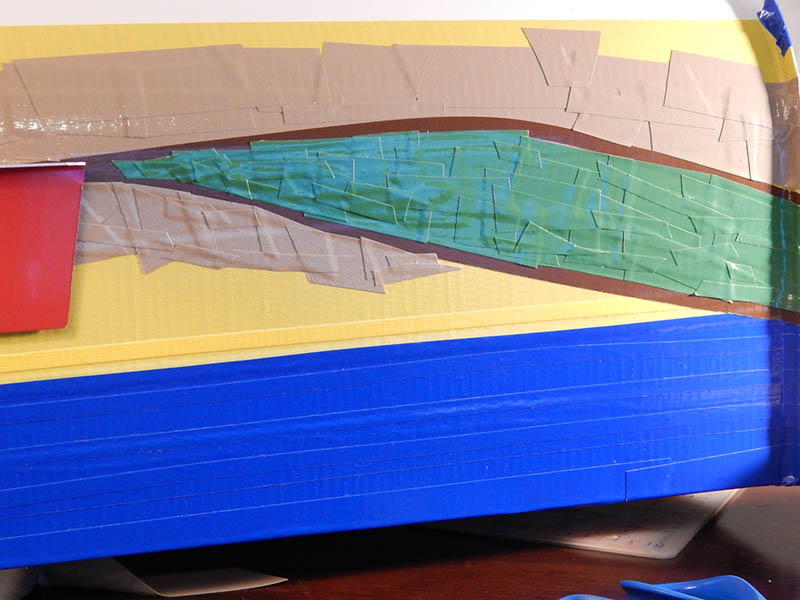
I was worried that slicing through the tape with an X-Acto™ blade might mess with the integrity of the product, but I was happy to see it did not! I was also happy to have 14 bold colors to work with – although for this particular project, since I had an Autumn lakeside theme, I stuck with just 8 colors. I used ProⓇ Duct 120 in White, Black, Tan, Brown, Yellow, Olive Drab (Olive Green), Green and Blue.
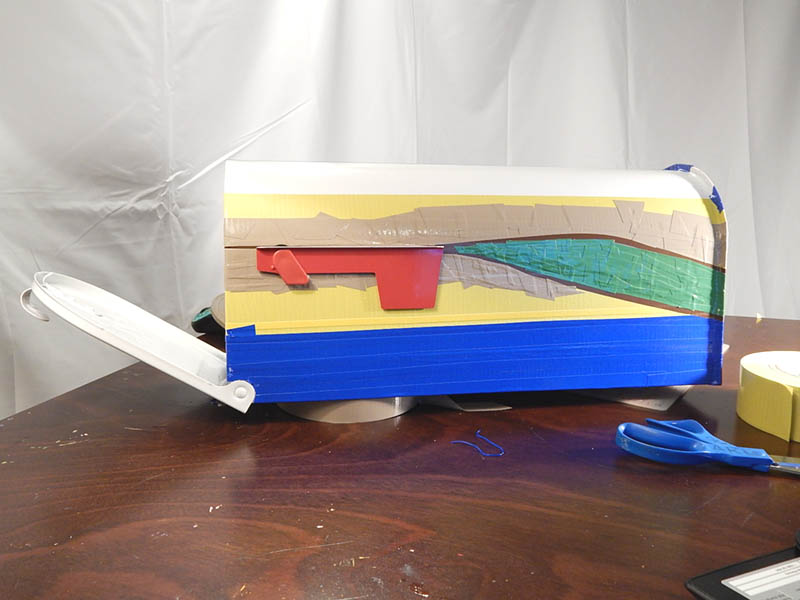
I also made use of 3 different sizes, ¼ in, 1 in and 2 in. The one and two inch rolls of ProⓇ Duct 120 were better for cutting organic, curved shapes. The ¼ inch rolls were best for precise and straight lines. Overall, the variations of widths kept this piece visually interesting!
ProⓇ Duct 120 was a great choice for its flexibility and how cleanly it cuts. In fact, I think the ProⓇ Duct extended the life of this mailbox! Now the mailbox will not rust, leak or fade. ProⓇ Duct 120 holds up amazingly against most weather conditions – so no need to worry about this artwork lifting or curling, it is guaranteed to stay put!
MAILBOX #2: Big Red Barnhouse
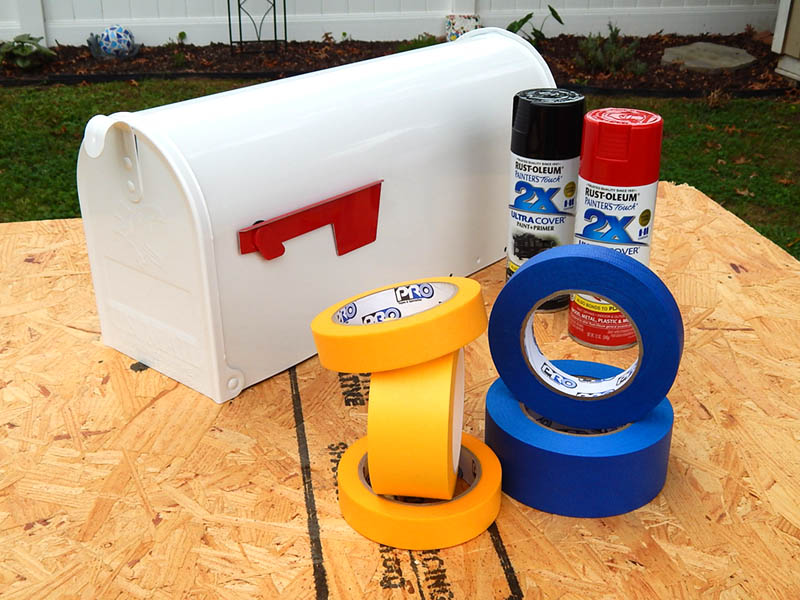
Materials:
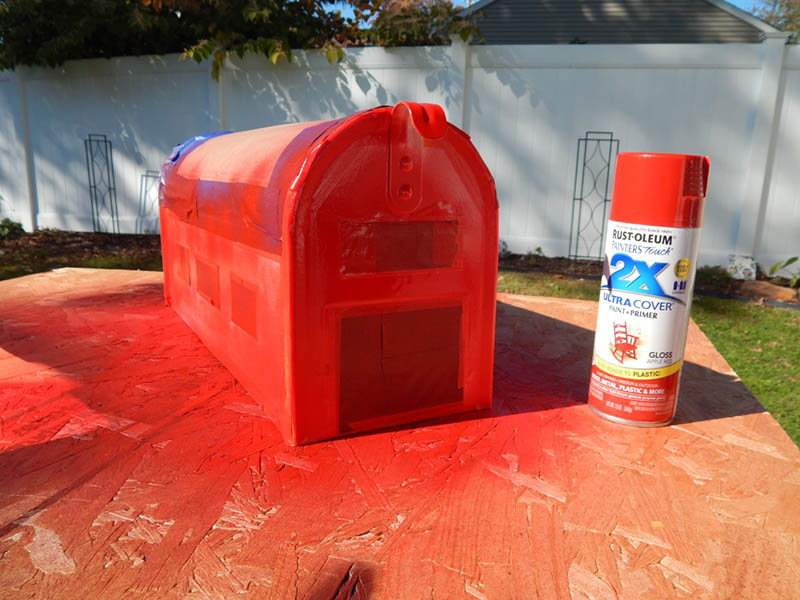
- Red & Black Spray paint
- Scissors
- ProⓇ 788: ¼ inch, ½ inch, and 2 inch
- ProⓇ 714 Scenic Blue mask: 1 inch and 2 inch
- Shur Blue (used as a guide for marking lines)
I really wanted to focus on a design with lots of crisp lines. I needed to create a few angles around the roofline, and I gave each side 3 windows, and a barn door on the front. Before I could begin taping or painting, I washed and fully dried the mailbox to ensure all tape and paint would adhere properly.
Then I dug into my huge box of tape and grabbed my yellow ProⓇ 788, a premium painter’s tape. This stuff is used on cars, so it had to do the trick! I tried a piece and right away it clung to the box. I really felt the adhesion and how it clung to the surface…It stayed put. I even waited 30 minutes or so, and NO lifts! So with the ProⓇ 788 I started masking off the areas where I wanted to create crisp, clean lines.
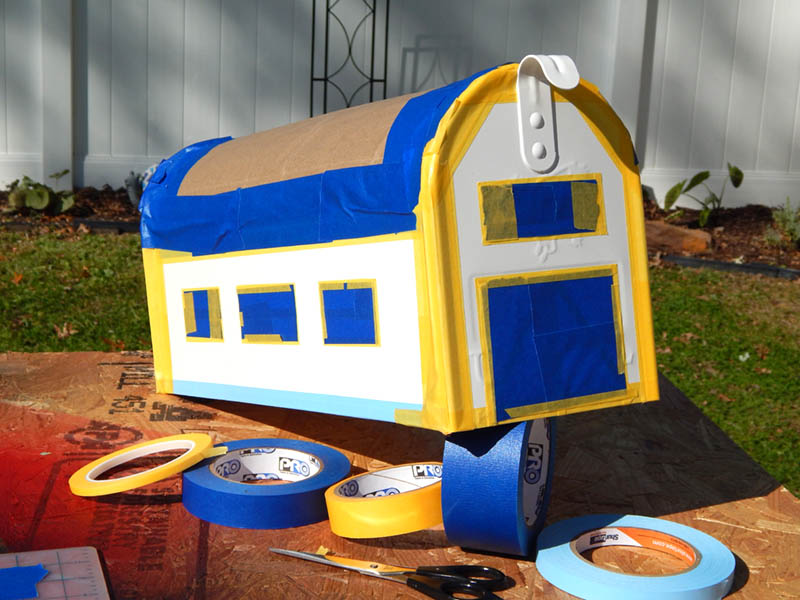
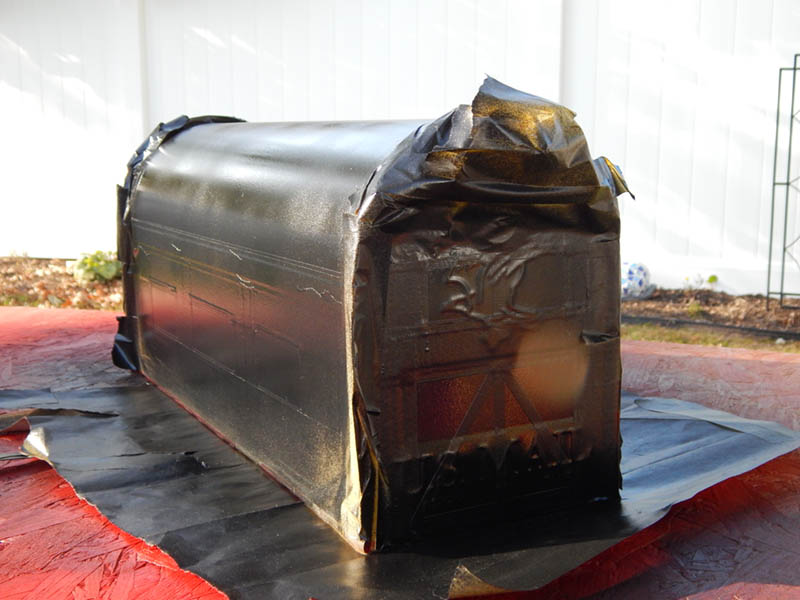
ProⓇ 788 is easily repositionable, so I had some room to play with the placement of my lines. Another great feature is the sheerness of this tape – it has a bold color, but you can easily see through the tape. This made lining up the edges around the windows and door so much easier. It was key to see that I covered and masked certain areas properly so I didn’t get any funny overlaps. I also used Pro® 714 here and there to mask off certain areas, like the roof. With the masking done, it was time to (spray)paint.
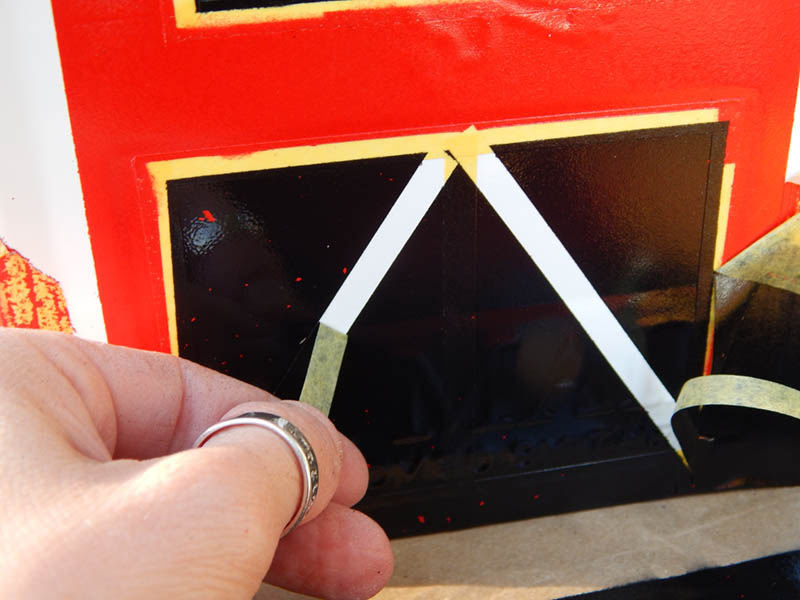
Once the paint dried, it was time to unmask. ProⓇ 788 gave me the razor sharp edges I was looking for. Look at the precision of detail here in the doors! I was able to overlap this tape to create the barn door look. It even clung well over the raised text on the face of the mailbox. I’m so impressed! I must also point out how reliable this tape is. It removed neatly without damaging the mailbox, pulling up paint, or leaking at the edges.
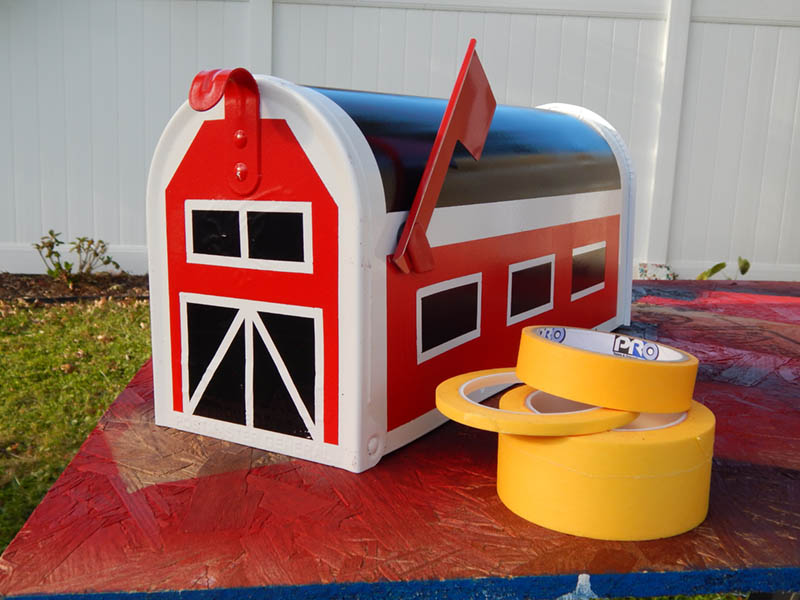
Overall, I really enjoyed this opportunity to work with tapes I have never worked with before. It really challenged me, and I always love a good challenge! I hope someone will love these mailboxes just as much as I do!!